DIY: Tissue Lanterns

Helloooo from Hawaii! I've been sitting in the sun and loving the hot weather here. Can't wait to show you guys some pictures! In the meantime, I can't keep this DIY from you any longer.
You saw the scalloped pink, yellow and orange hanging lanterns that we used for our ladies brunch last week, right? I'm working hard on the first one, here.
Are they amah-zing ('Happy Endings' reference for you) - or what? And the best part is that they're super easy!
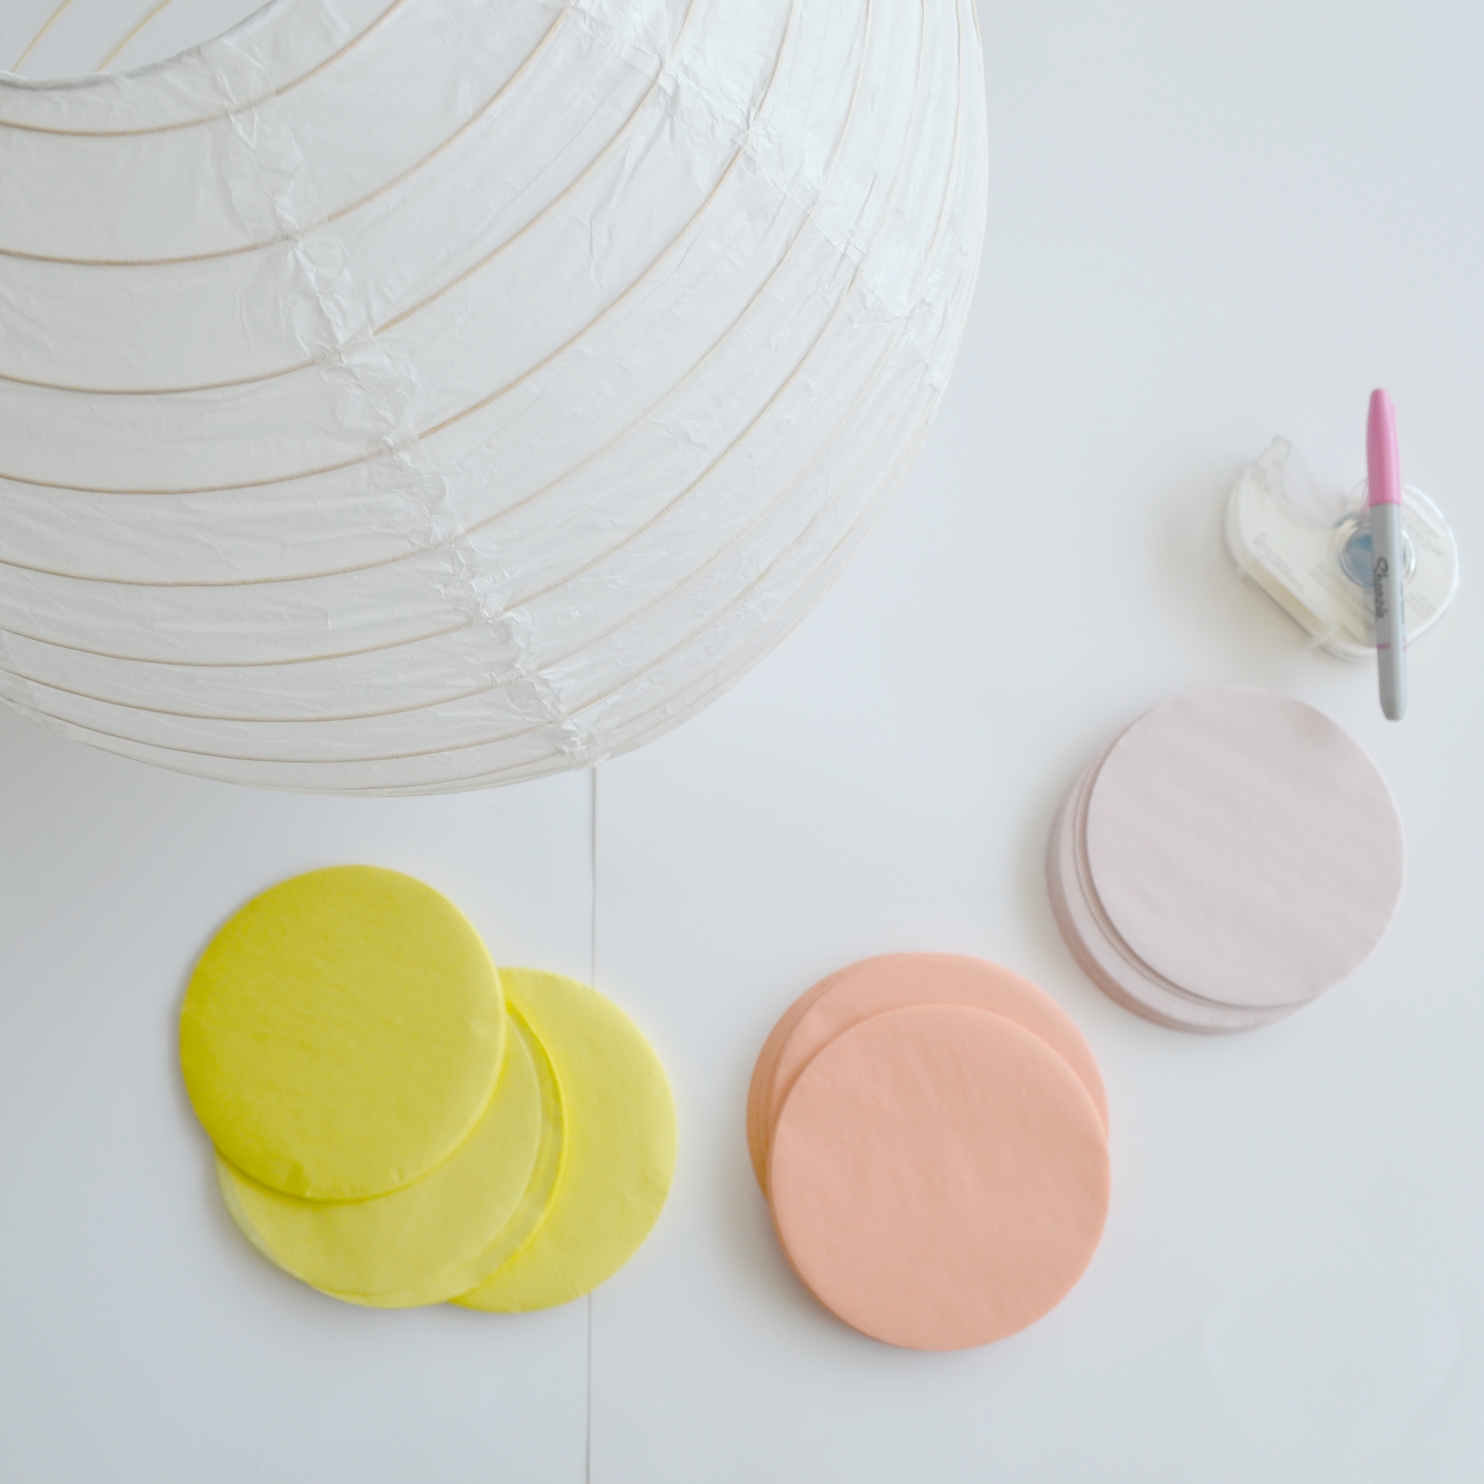
You'll Need:
Paper lanterns / Tissue Rounds / Double Sided Tape (or hot glue- see bottom of post) / Pen.
That's it!
Pick your tissue colours and start by covering the hole in the bottom of the lantern. I used the double sided tape to stick one piece completely overtop.

Once you have the hole covered, start to layer the tissues around the circumference of the lantern. You want the same side-by-side overlap all the way around to keep it unified. As you finish one layer, work your way up the lantern being careful to keep the same distance between each one. I used a pen to mark the spot where I wanted to change colours.


Keep going until you work your way to the top, and voila! One word of advice- I saw instructions on how to make these that said to use double sided tape. I found that this didn't exactly have the sticking power that I wanted, and by the next day, a bunch of tissues had already fallen off! Not so awesome. I'm going to make these again in different colours (helloooo nursery!), but I'm going to try a glue gun to make sure that they last.


