DIY Balloon Photo Backdrop
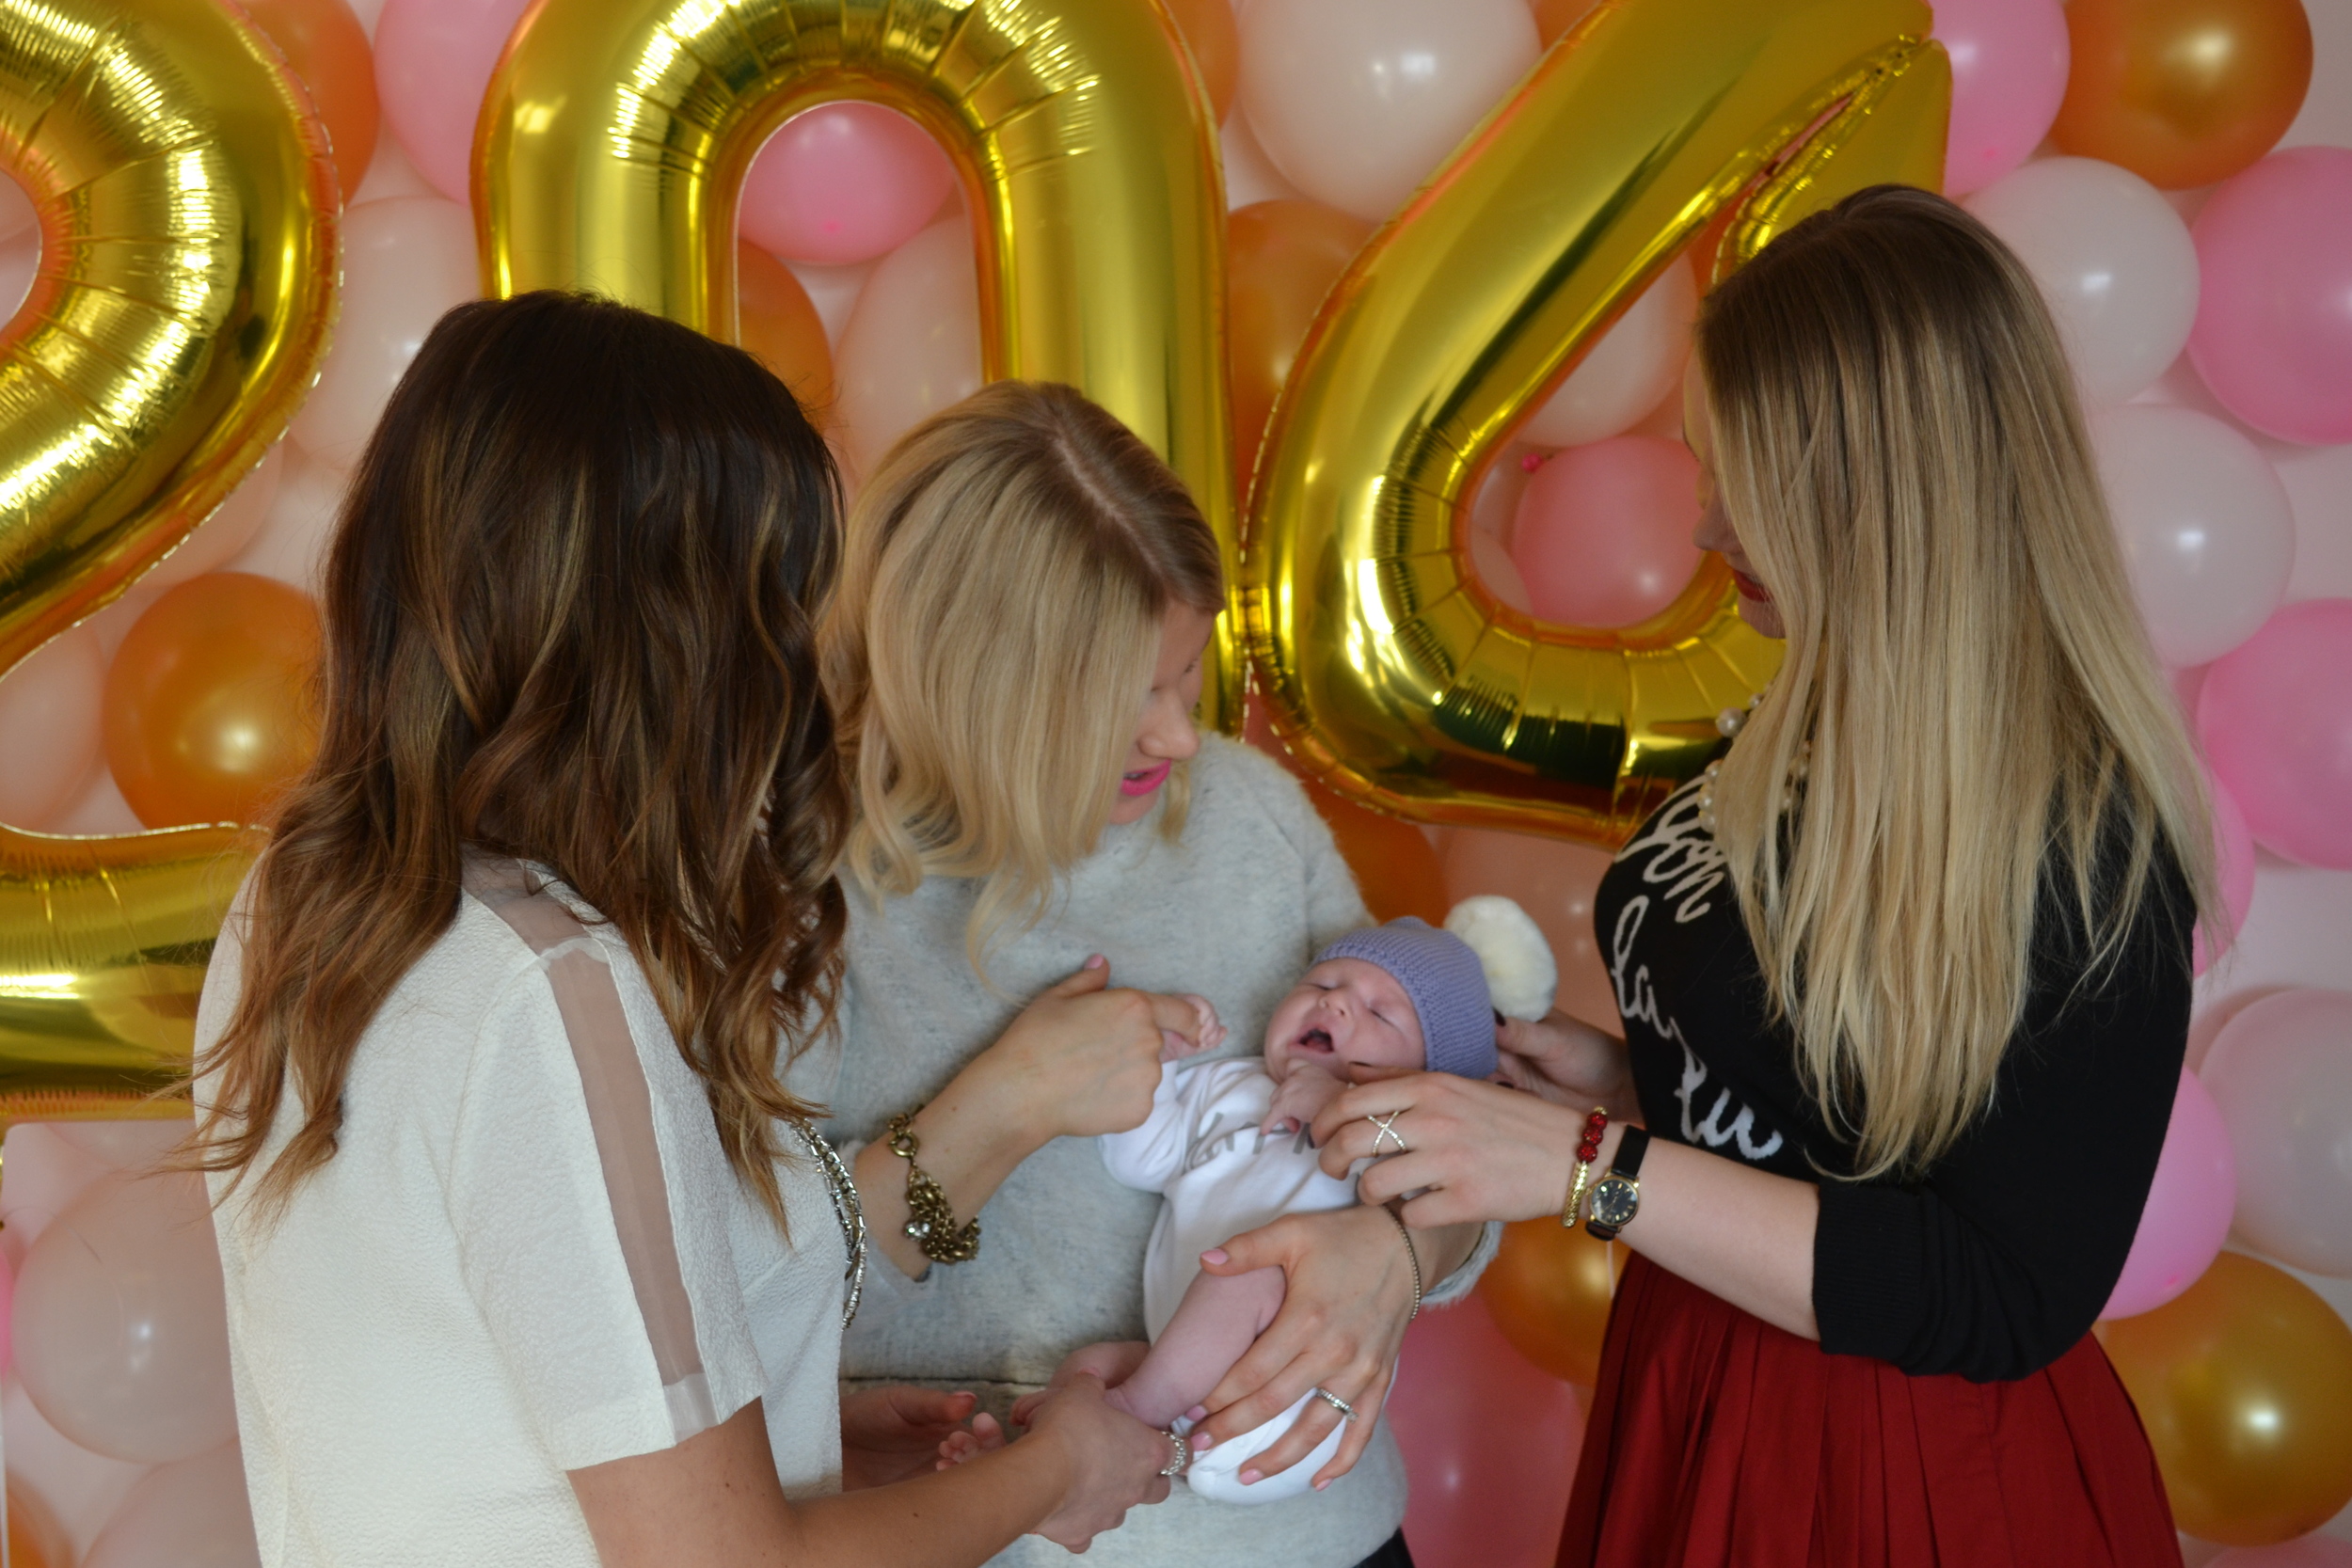
As you may have seen on Instagram, last weekend we had a balloon filled party to celebrate our one year "bloggiversary" and we had a blast. We popped some champagne, ate a bit of cake, threw some glitter around- because why not, and partied with little Alice, and Herman too! We've had a few questions since about the balloon photo backdrop wall seen in our photos so I thought for today's post, I'd break down how you can Get The Look for yourself.
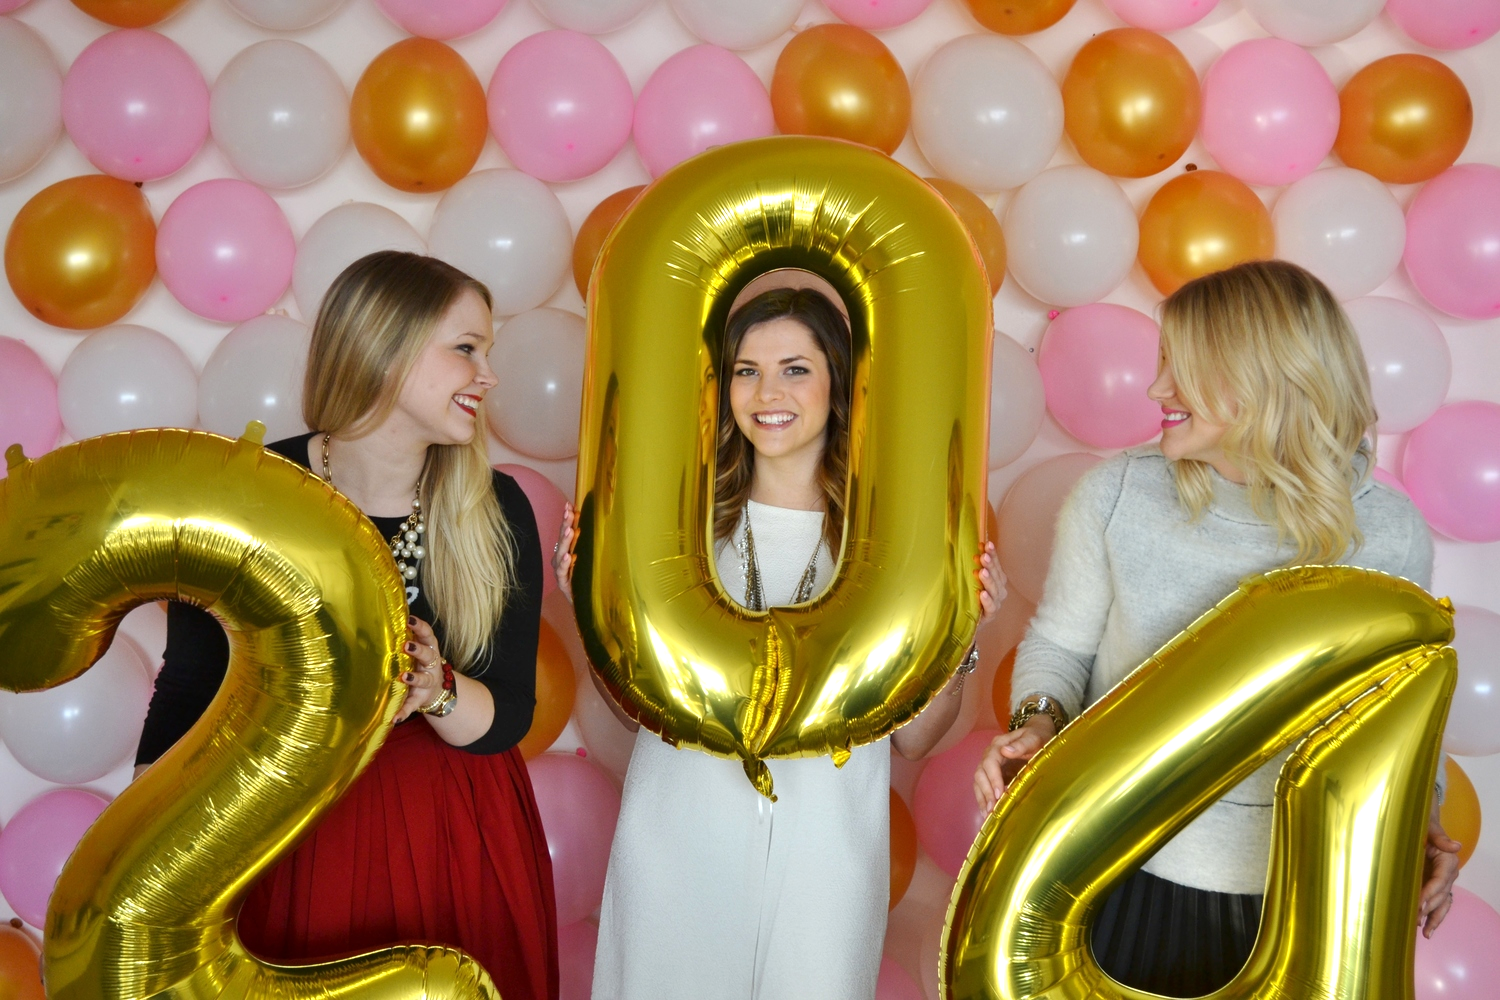


I wanted to create a fun backdrop for these photos but was a little limited on time for a few of the DIYs I had in mind so thus entered the balloon backdrop. We partied in my dining room where the wall we covered was roughly 12x8. It took about 100 balloons and a roll of tape but the result was totally worth it, and if you're looking to add a wow factor to your next party, it's a totally fun and inexpensive DIY I'd definitely recommend trying.
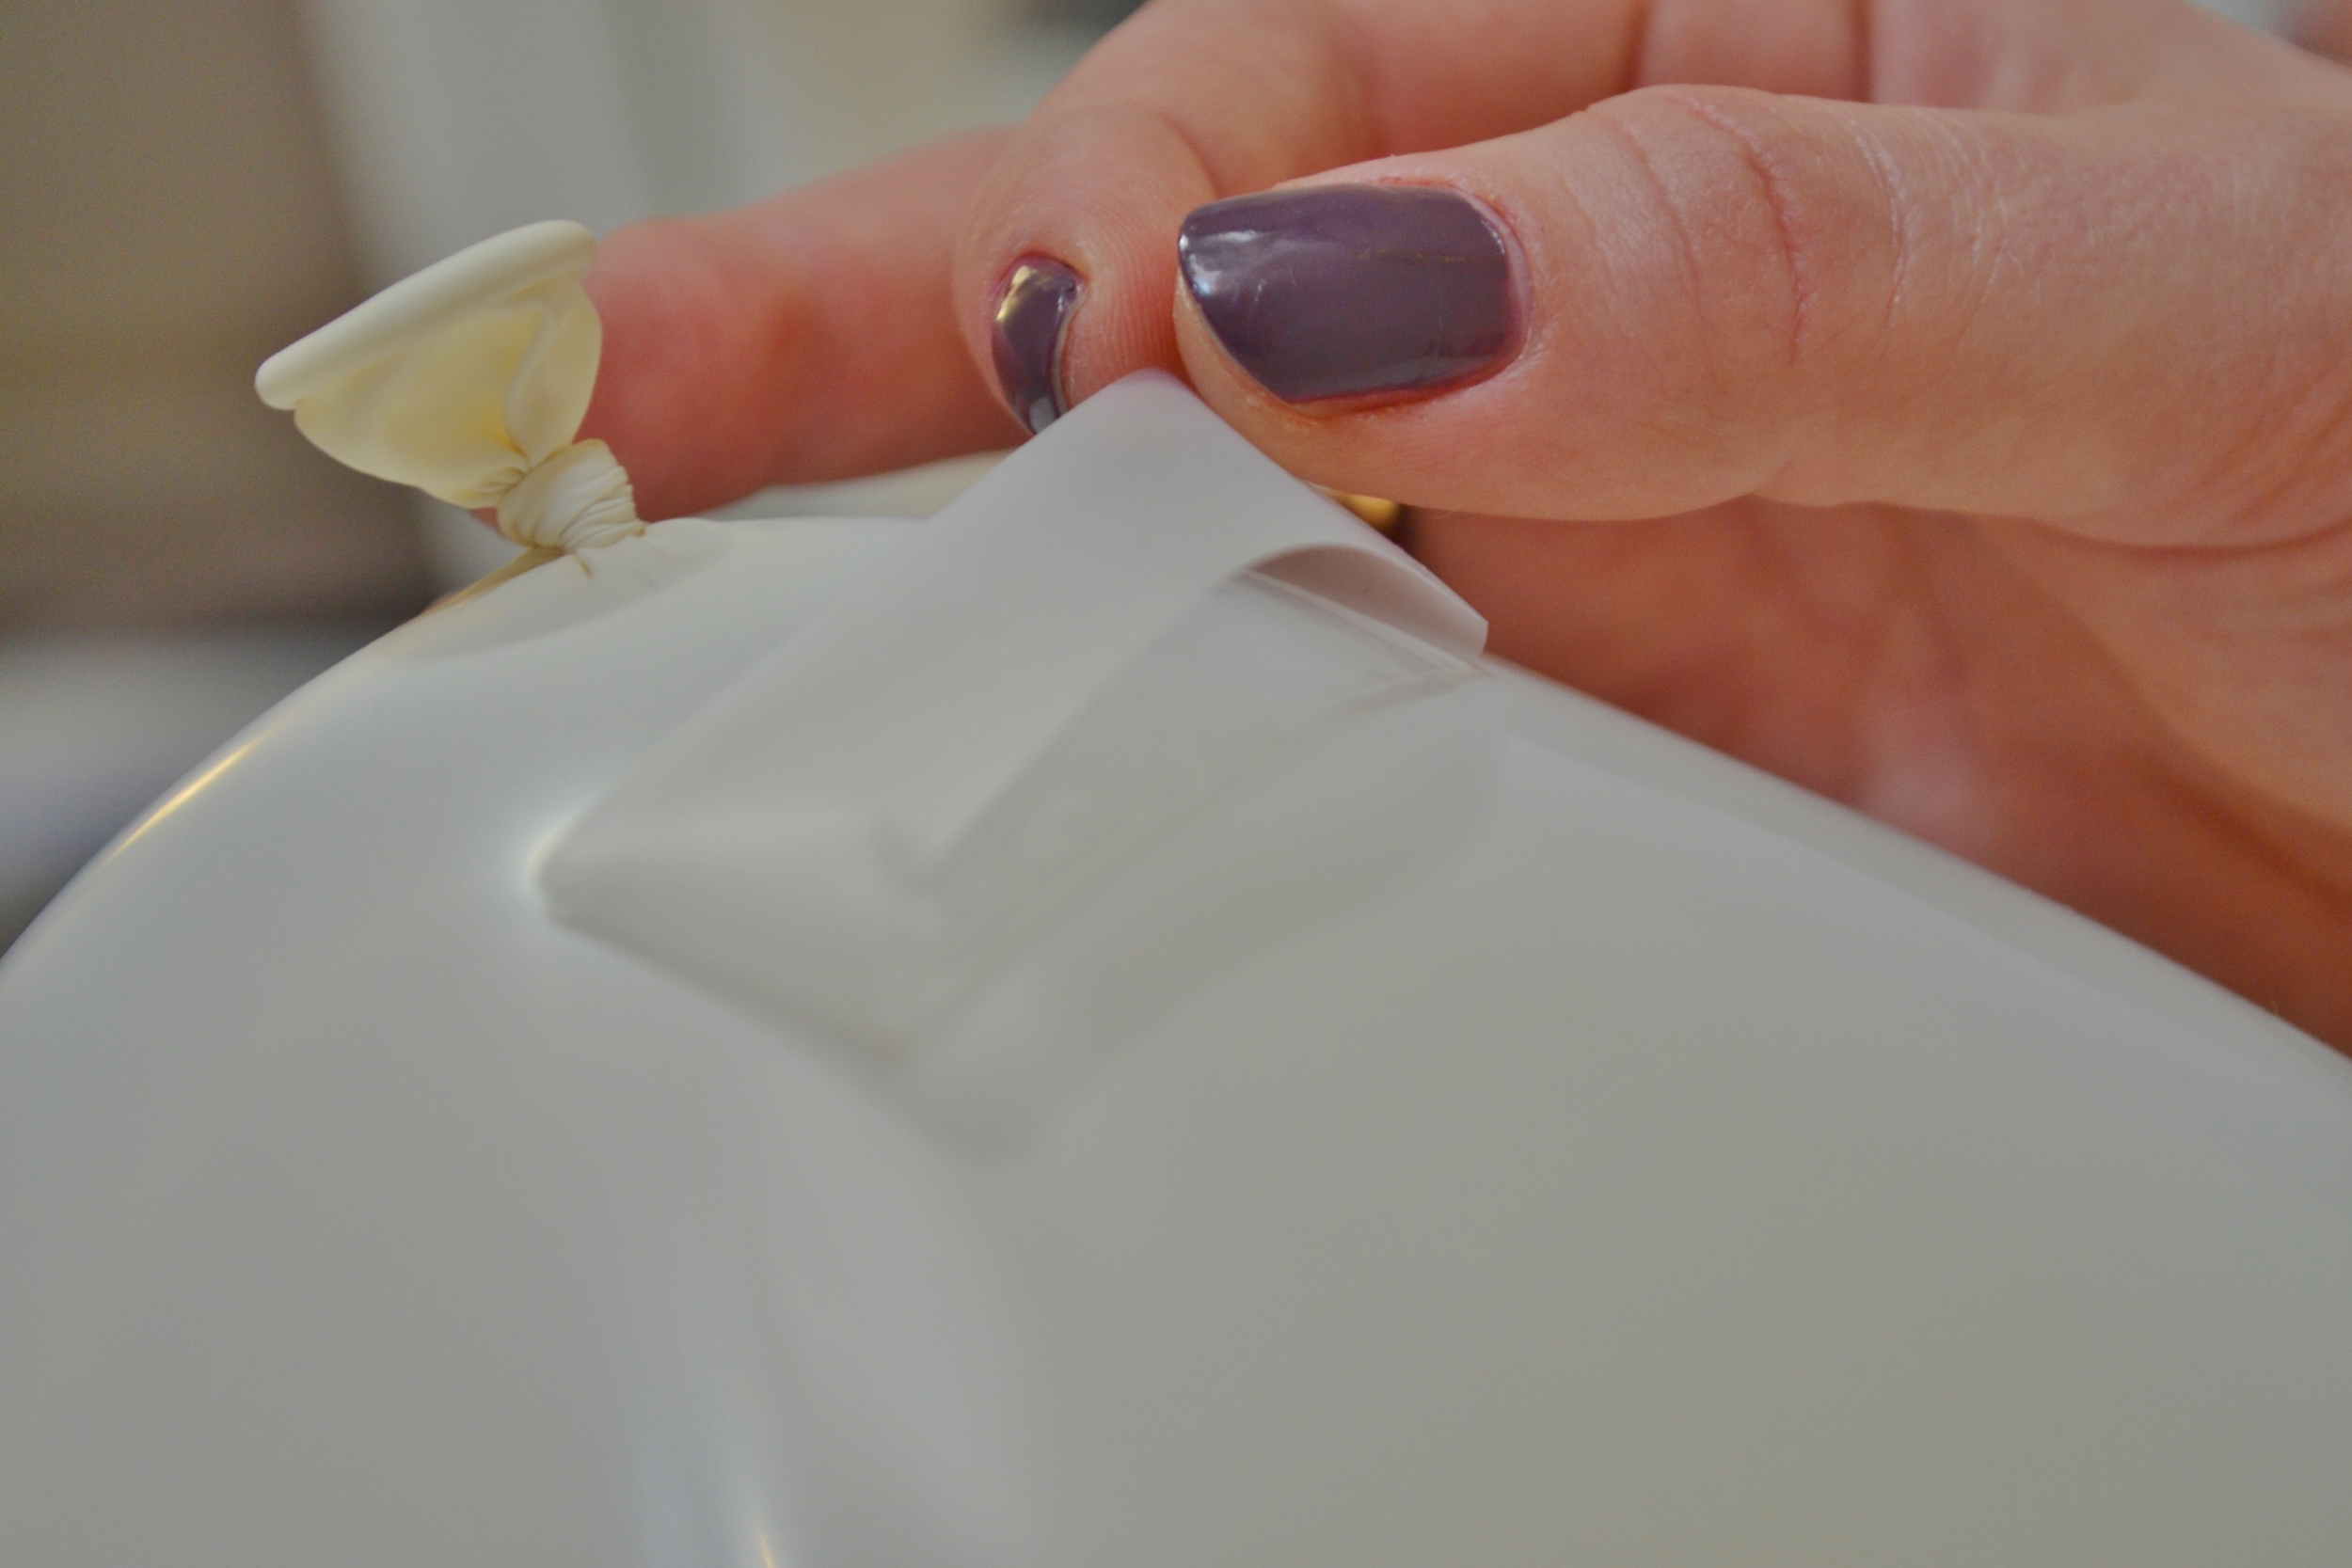
Balloons + tape + a wall = pretty much the easiest DIY post ever that probably doesn't require a ton of explanation but here's my few tips.

Tip 1 Blow the balloons up a day or two in advance: It took a little bit of time to blow up these balloons but James and I put on a Christmas movie and went to town and it really wasn't that bad - by the end, we had our technique mastered and were a lot more efficient than when we first started.I wouldn't blow them up more than two days in advance or else they might start to deflate a bit but the prep work of getting them ready in advance is well worth it if you have the space to store them before hanging them up!
Tip 2 Don't try to hang them in advance: I thought I'd try to be really ahead of the ball and hang the balloons the night before only to wake up to 50%+ of them on the ground. Womp Womp. Save your time and just hang them in the few hours before you're expecting your guests to arrive. In hindsight, I should have hung them all the morning of, rather than trying to re-hang balloons that had fallen from their places.

Tip 3 Start at the top and work your way down: The best way to get the most consistent look and the easiest way to efficiently put up the balloons I found was to start at the ceiling, work my way across the wall then down the wall in rows. With a person handing over taped balloons to someone hanging them, this shouldn't actually take too long.
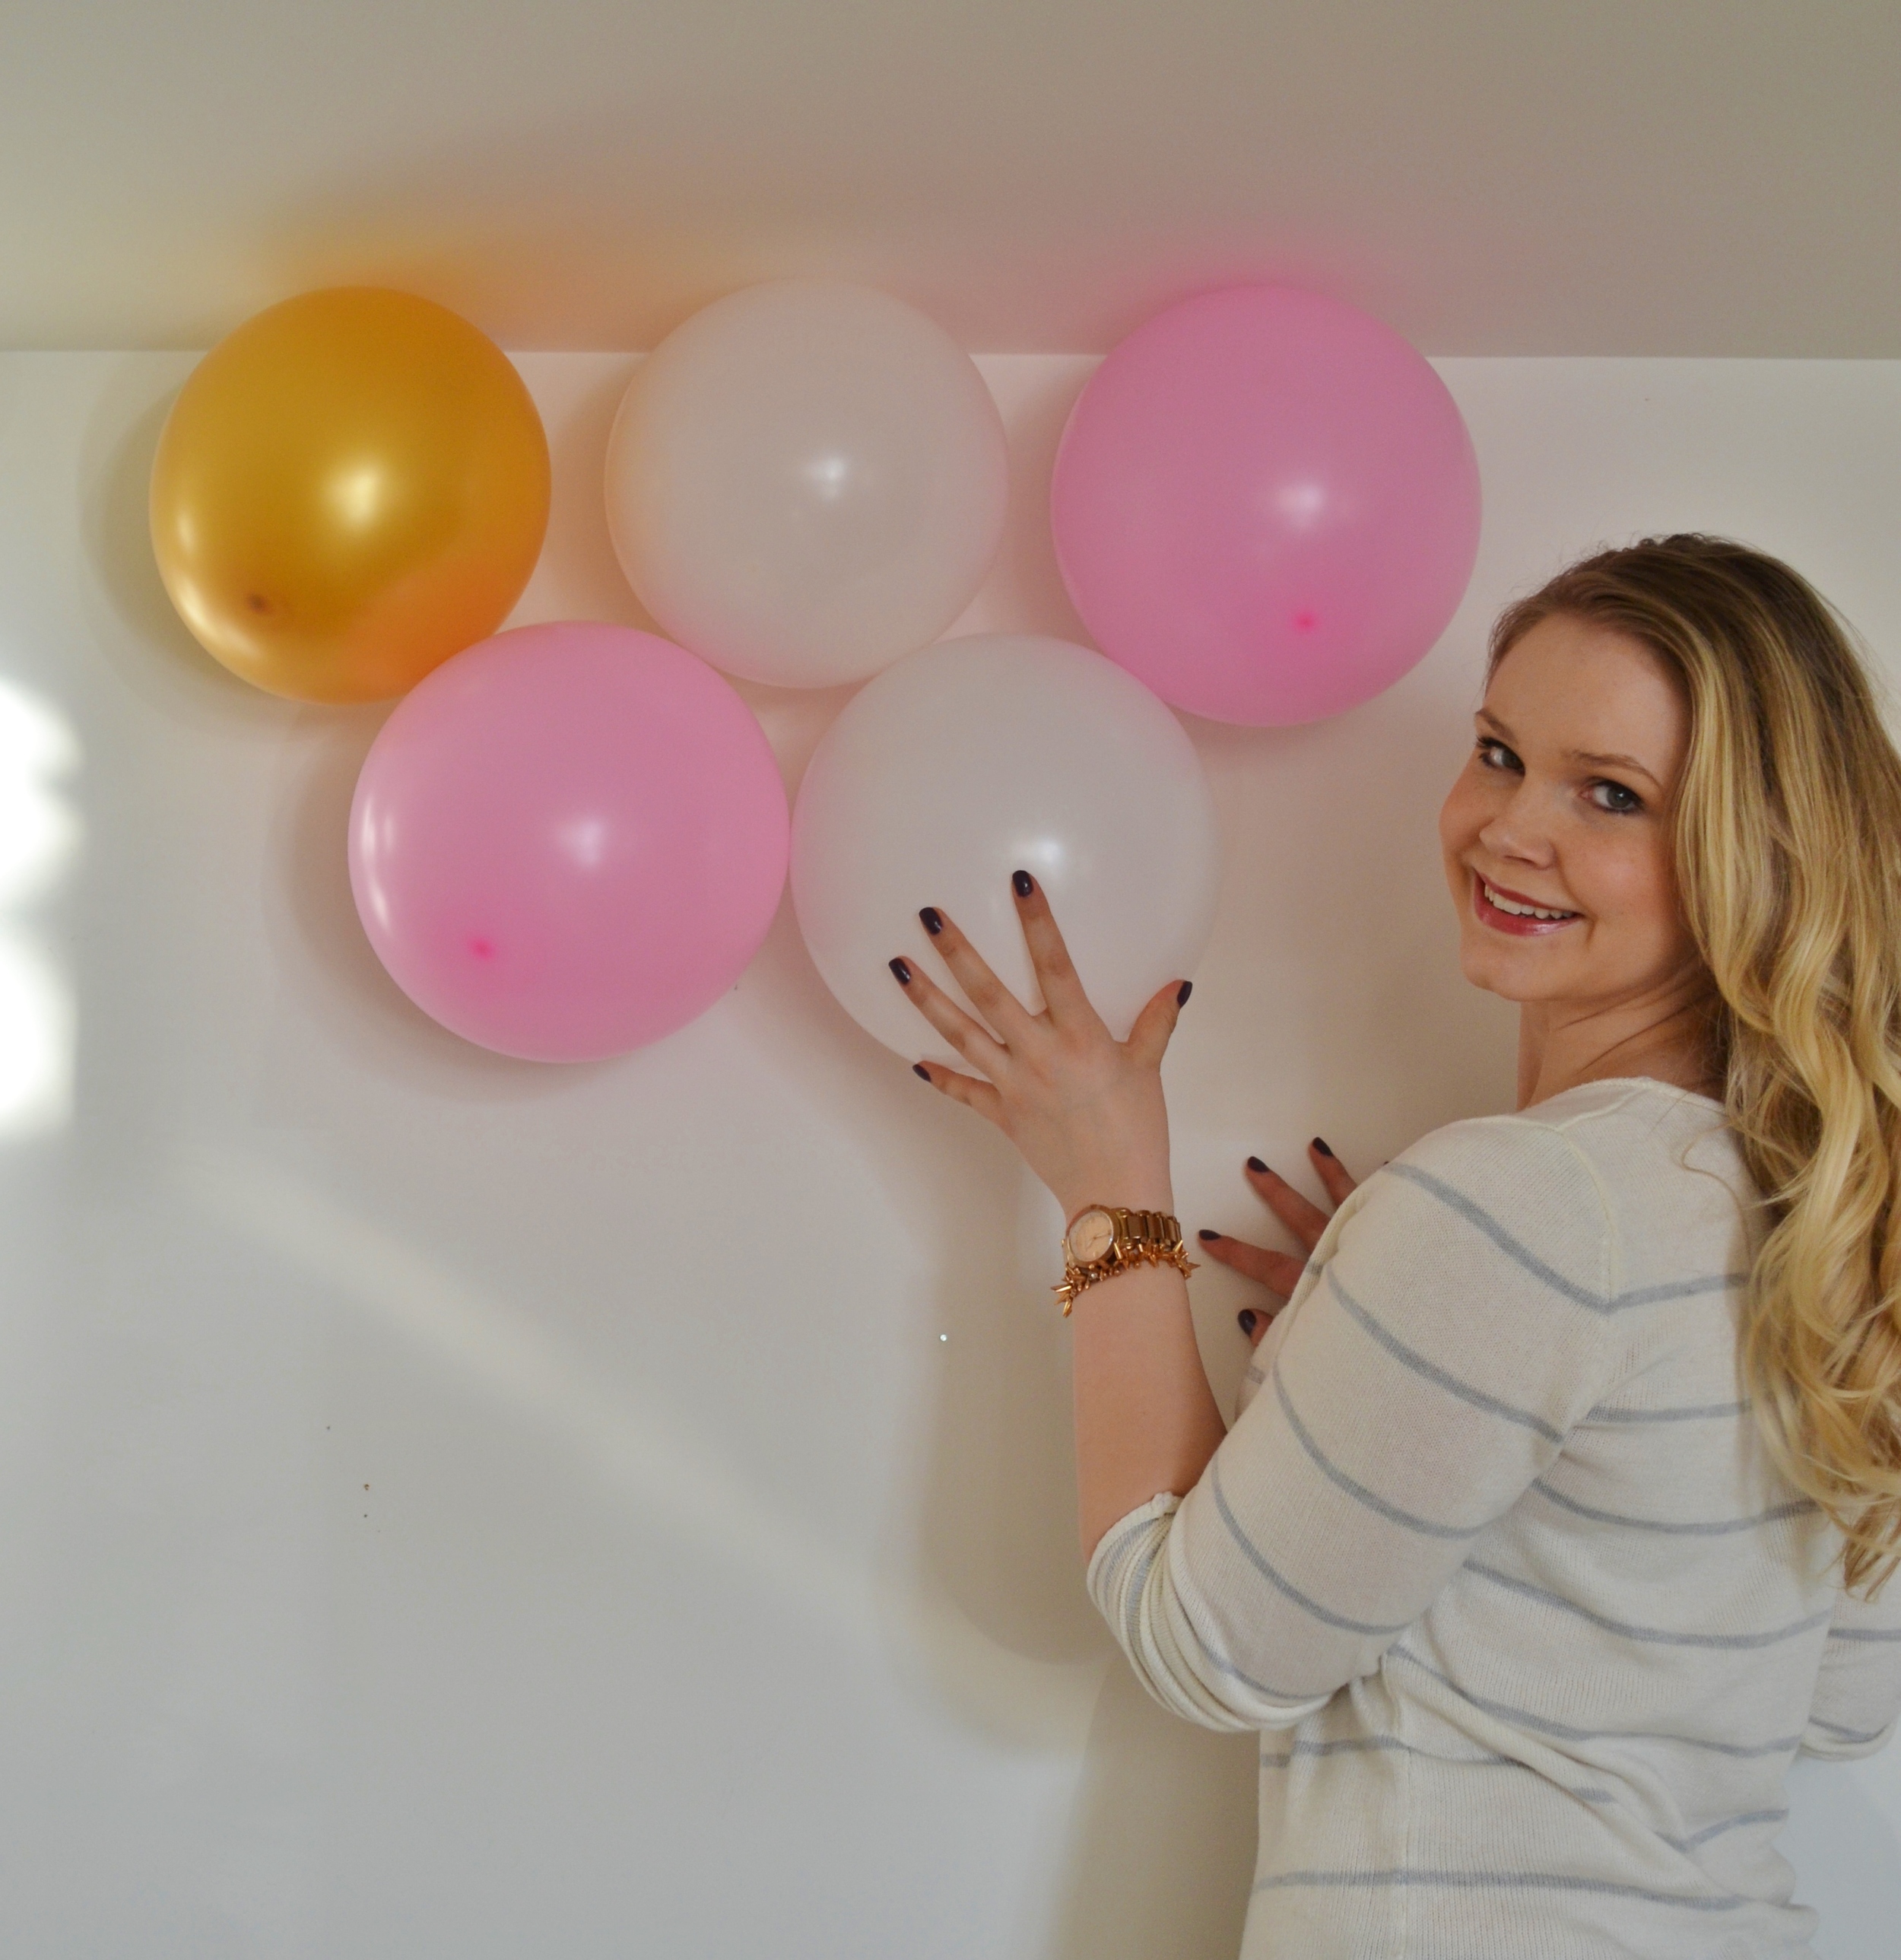
So there ya go! A few tips to create your own DIY balloon backdrop wall. It might be a bit of work but it was totally worth it in my opinion and once the balloons were up, they held up surprisingly well for hours, so I don't have any doubts that if you were throwing a holiday soiree of your own, that 99% of them would be just fine for the night!


Let us know if you give this a try for yourself - use the #204Park so we can follow along!