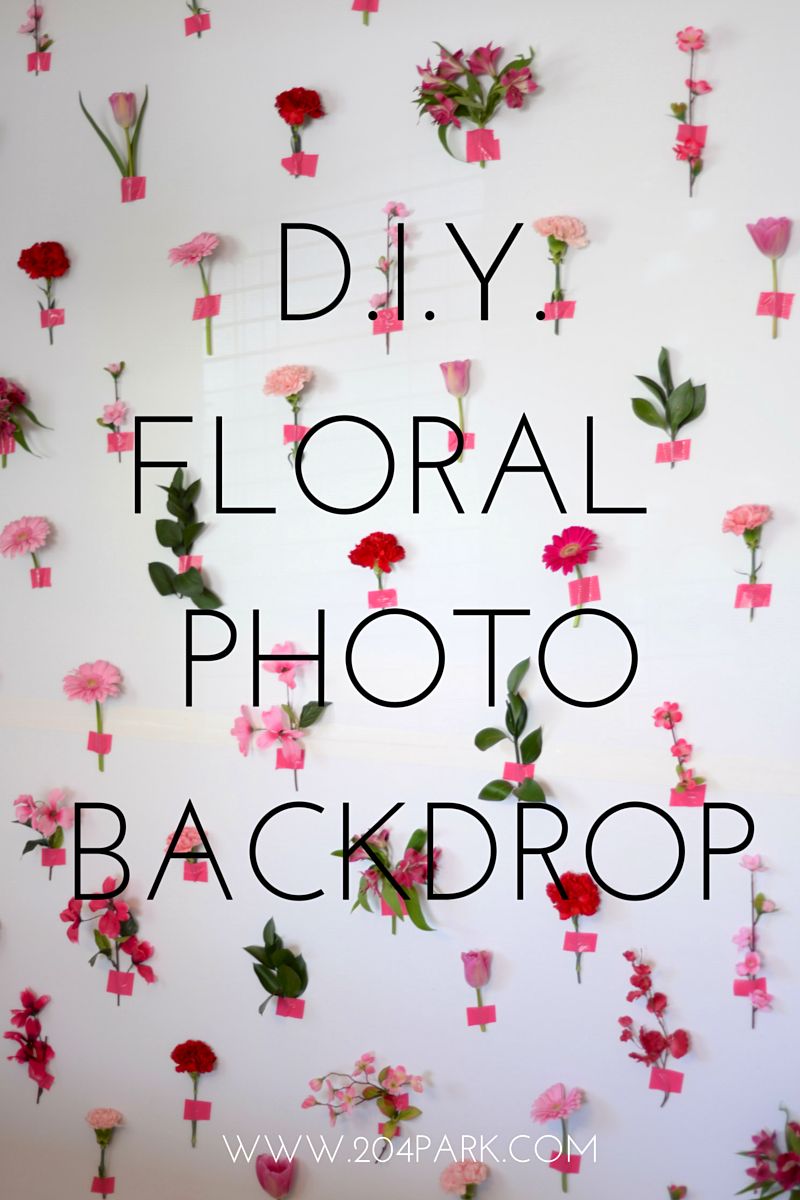
DIY Floral Wall Backdrop
Hello and happy first day of June! June is going to be a bit of a crazy month for me with two stagettes, a girl's trip to Kelowna, my bestie's wedding and we get possession of our house so needless to say, it's going to be a bit of a whirlwind!
With my girl getting married later this month, it's been a flurry of bridal related festivities including the Beyonce inspired shower I co-hosted a few weeks back. You might remember I shared a peek at the floral photo backdrop I made but today, I'm going to give you the full run down on how to make one of these yourself and I promise, it's super simple!
To make your own photo backdrop here's what you'll need: Corplast board, scissors, x-acto knife, straight edge, duct tape, flowers real and/or fake.

The first step is to determine the size of the backdrop you want to make. I first wanted my backdrop to be 5' wide x 7' high however, finding corplast in that size wasn't an option. You could always paint a large piece of MDF or board but what I like about corplast is it's very lightweight so it's easier to transport and set up and take down plus, I could just see knocking and banging up the walls hauling around a big piece of wood so corplast it was! Seeing as the corplast come in sheets that are 4x8, I bought two and then cut two feet off the end of each board leaving me with two 4 x 6 boards.

As you can see from my very basic graphic above, I turned the boards horizontally, taped them together (on the floor), then used the cut-offs and taped them to the boards as well so that the overall backdrop was sturdier.
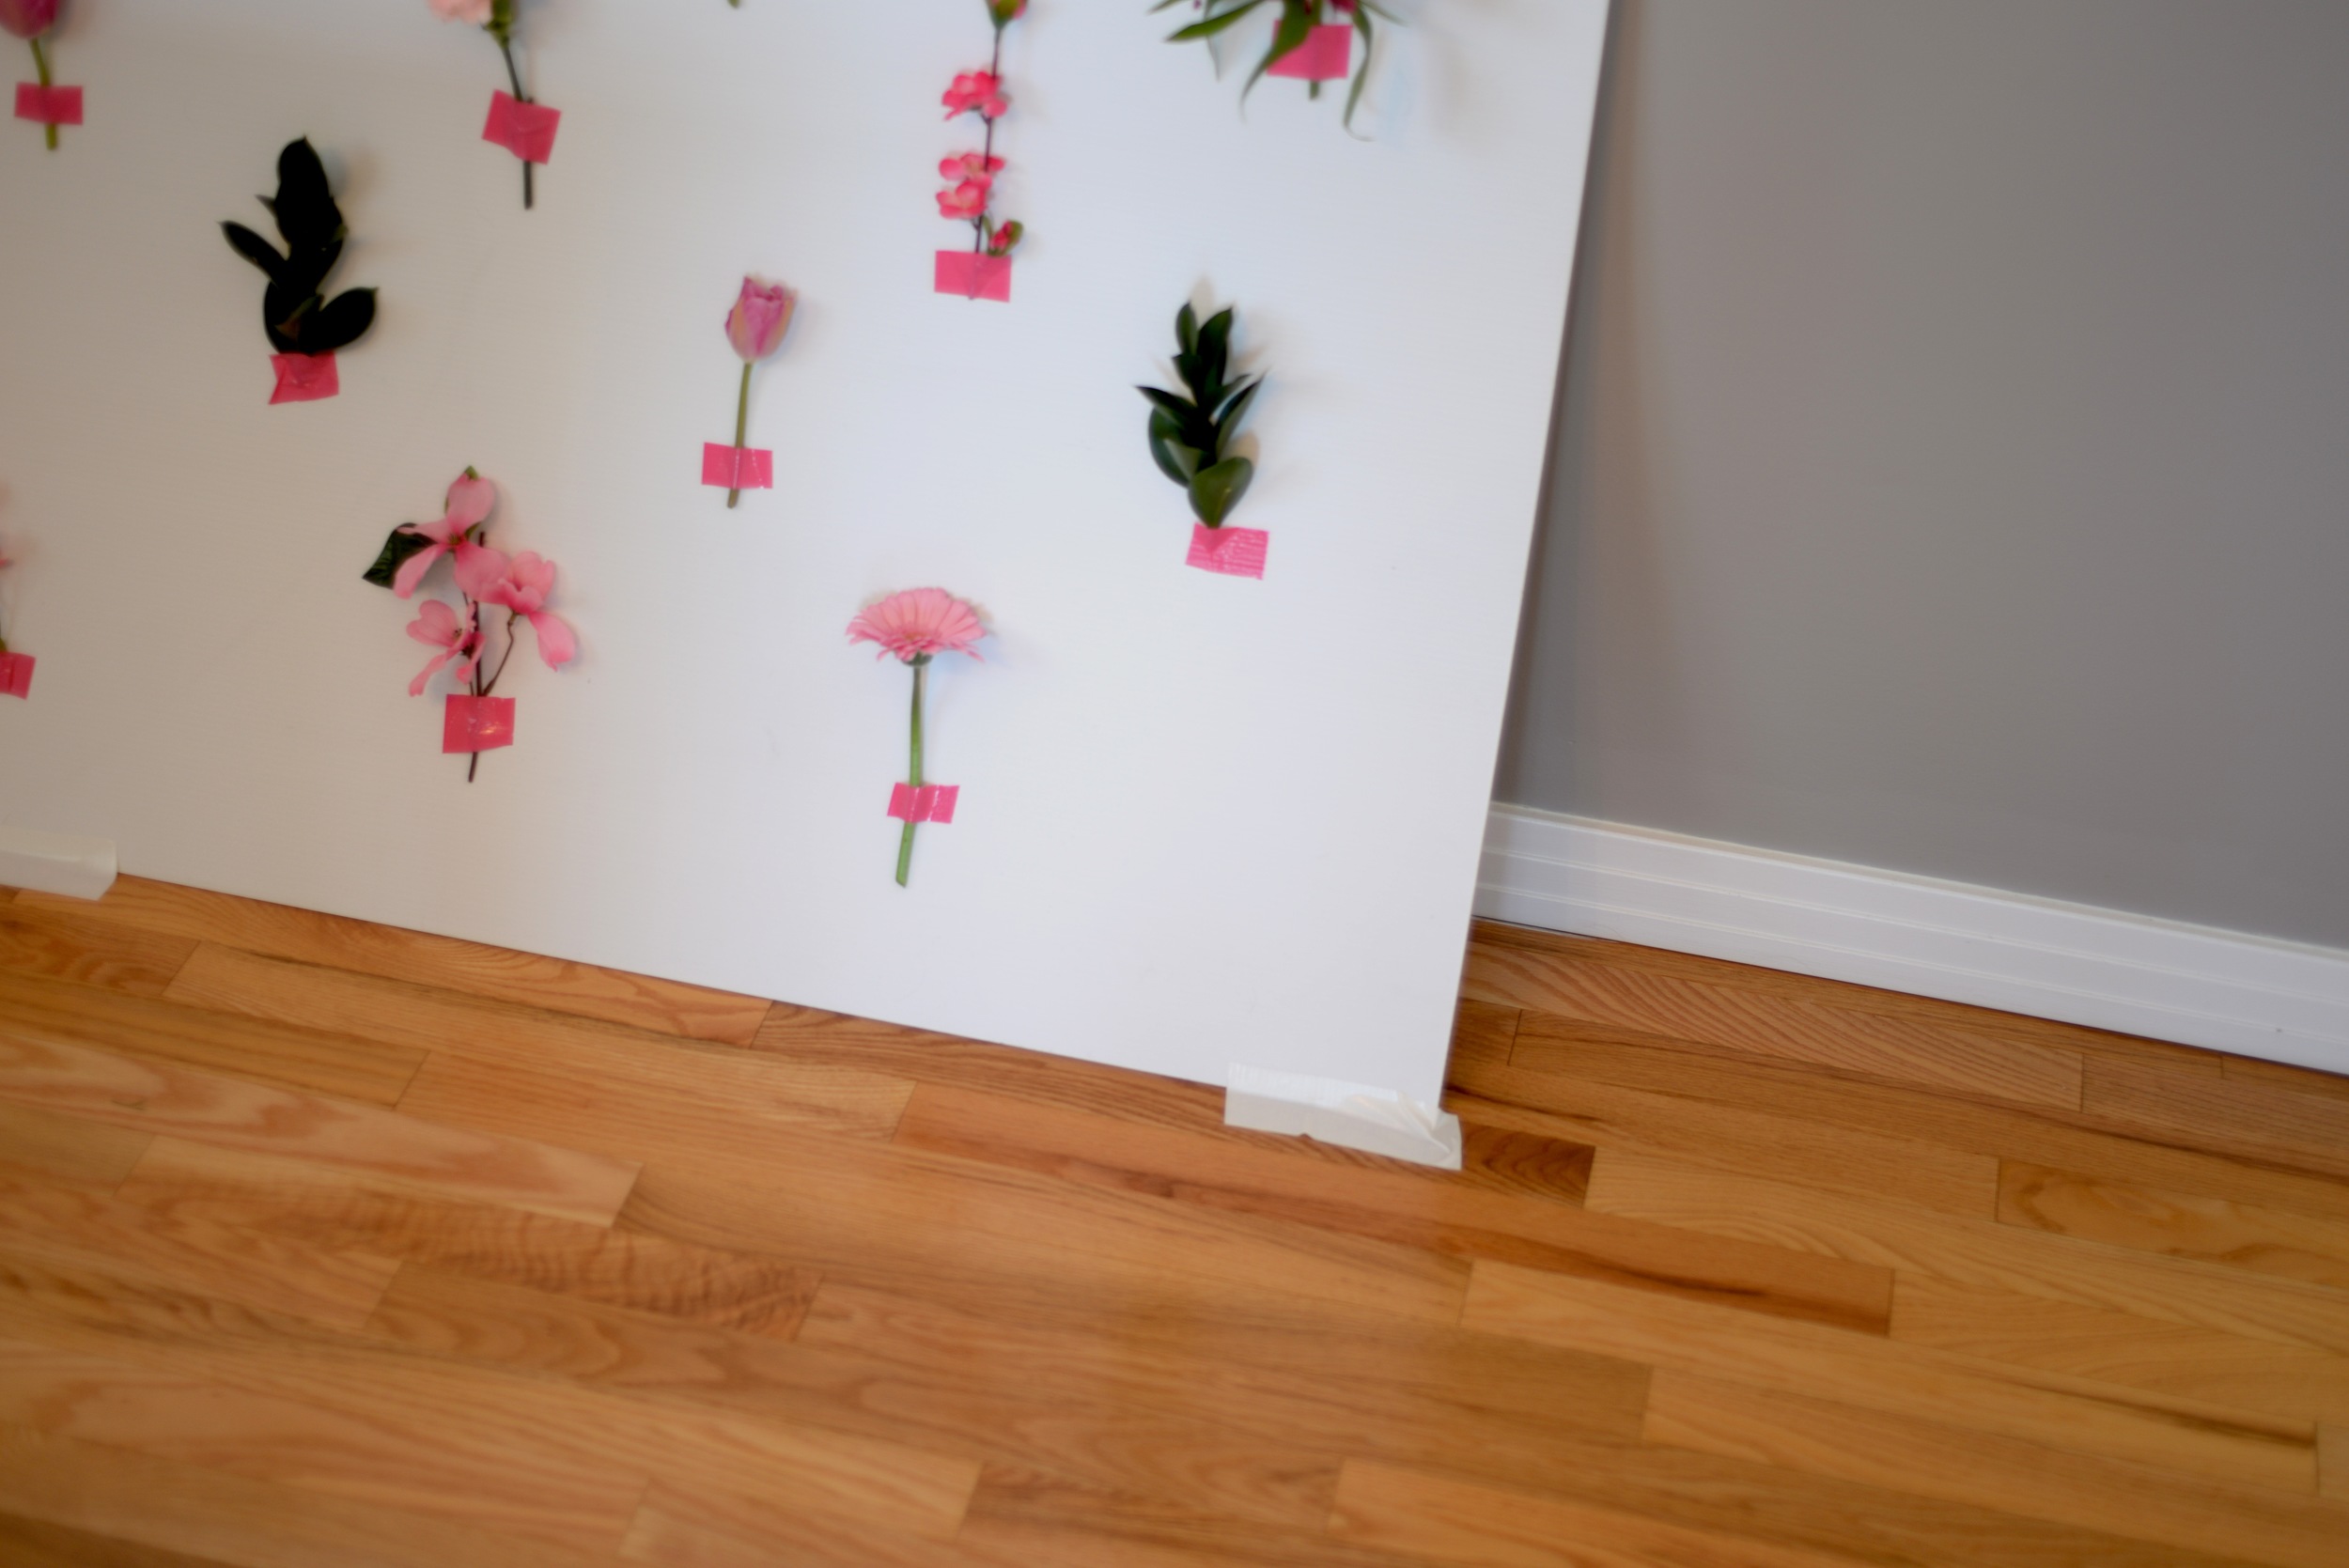
To secure the board more, you can see I taped the board to the floor to prevent and slipping and sliding. Also, although the board seemed secure when I first started, as I began taping flowers, the weight started to pull the board forward so I'd also suggest using a few pieces of tape at the top of the board to secure the backdrop to the wall.

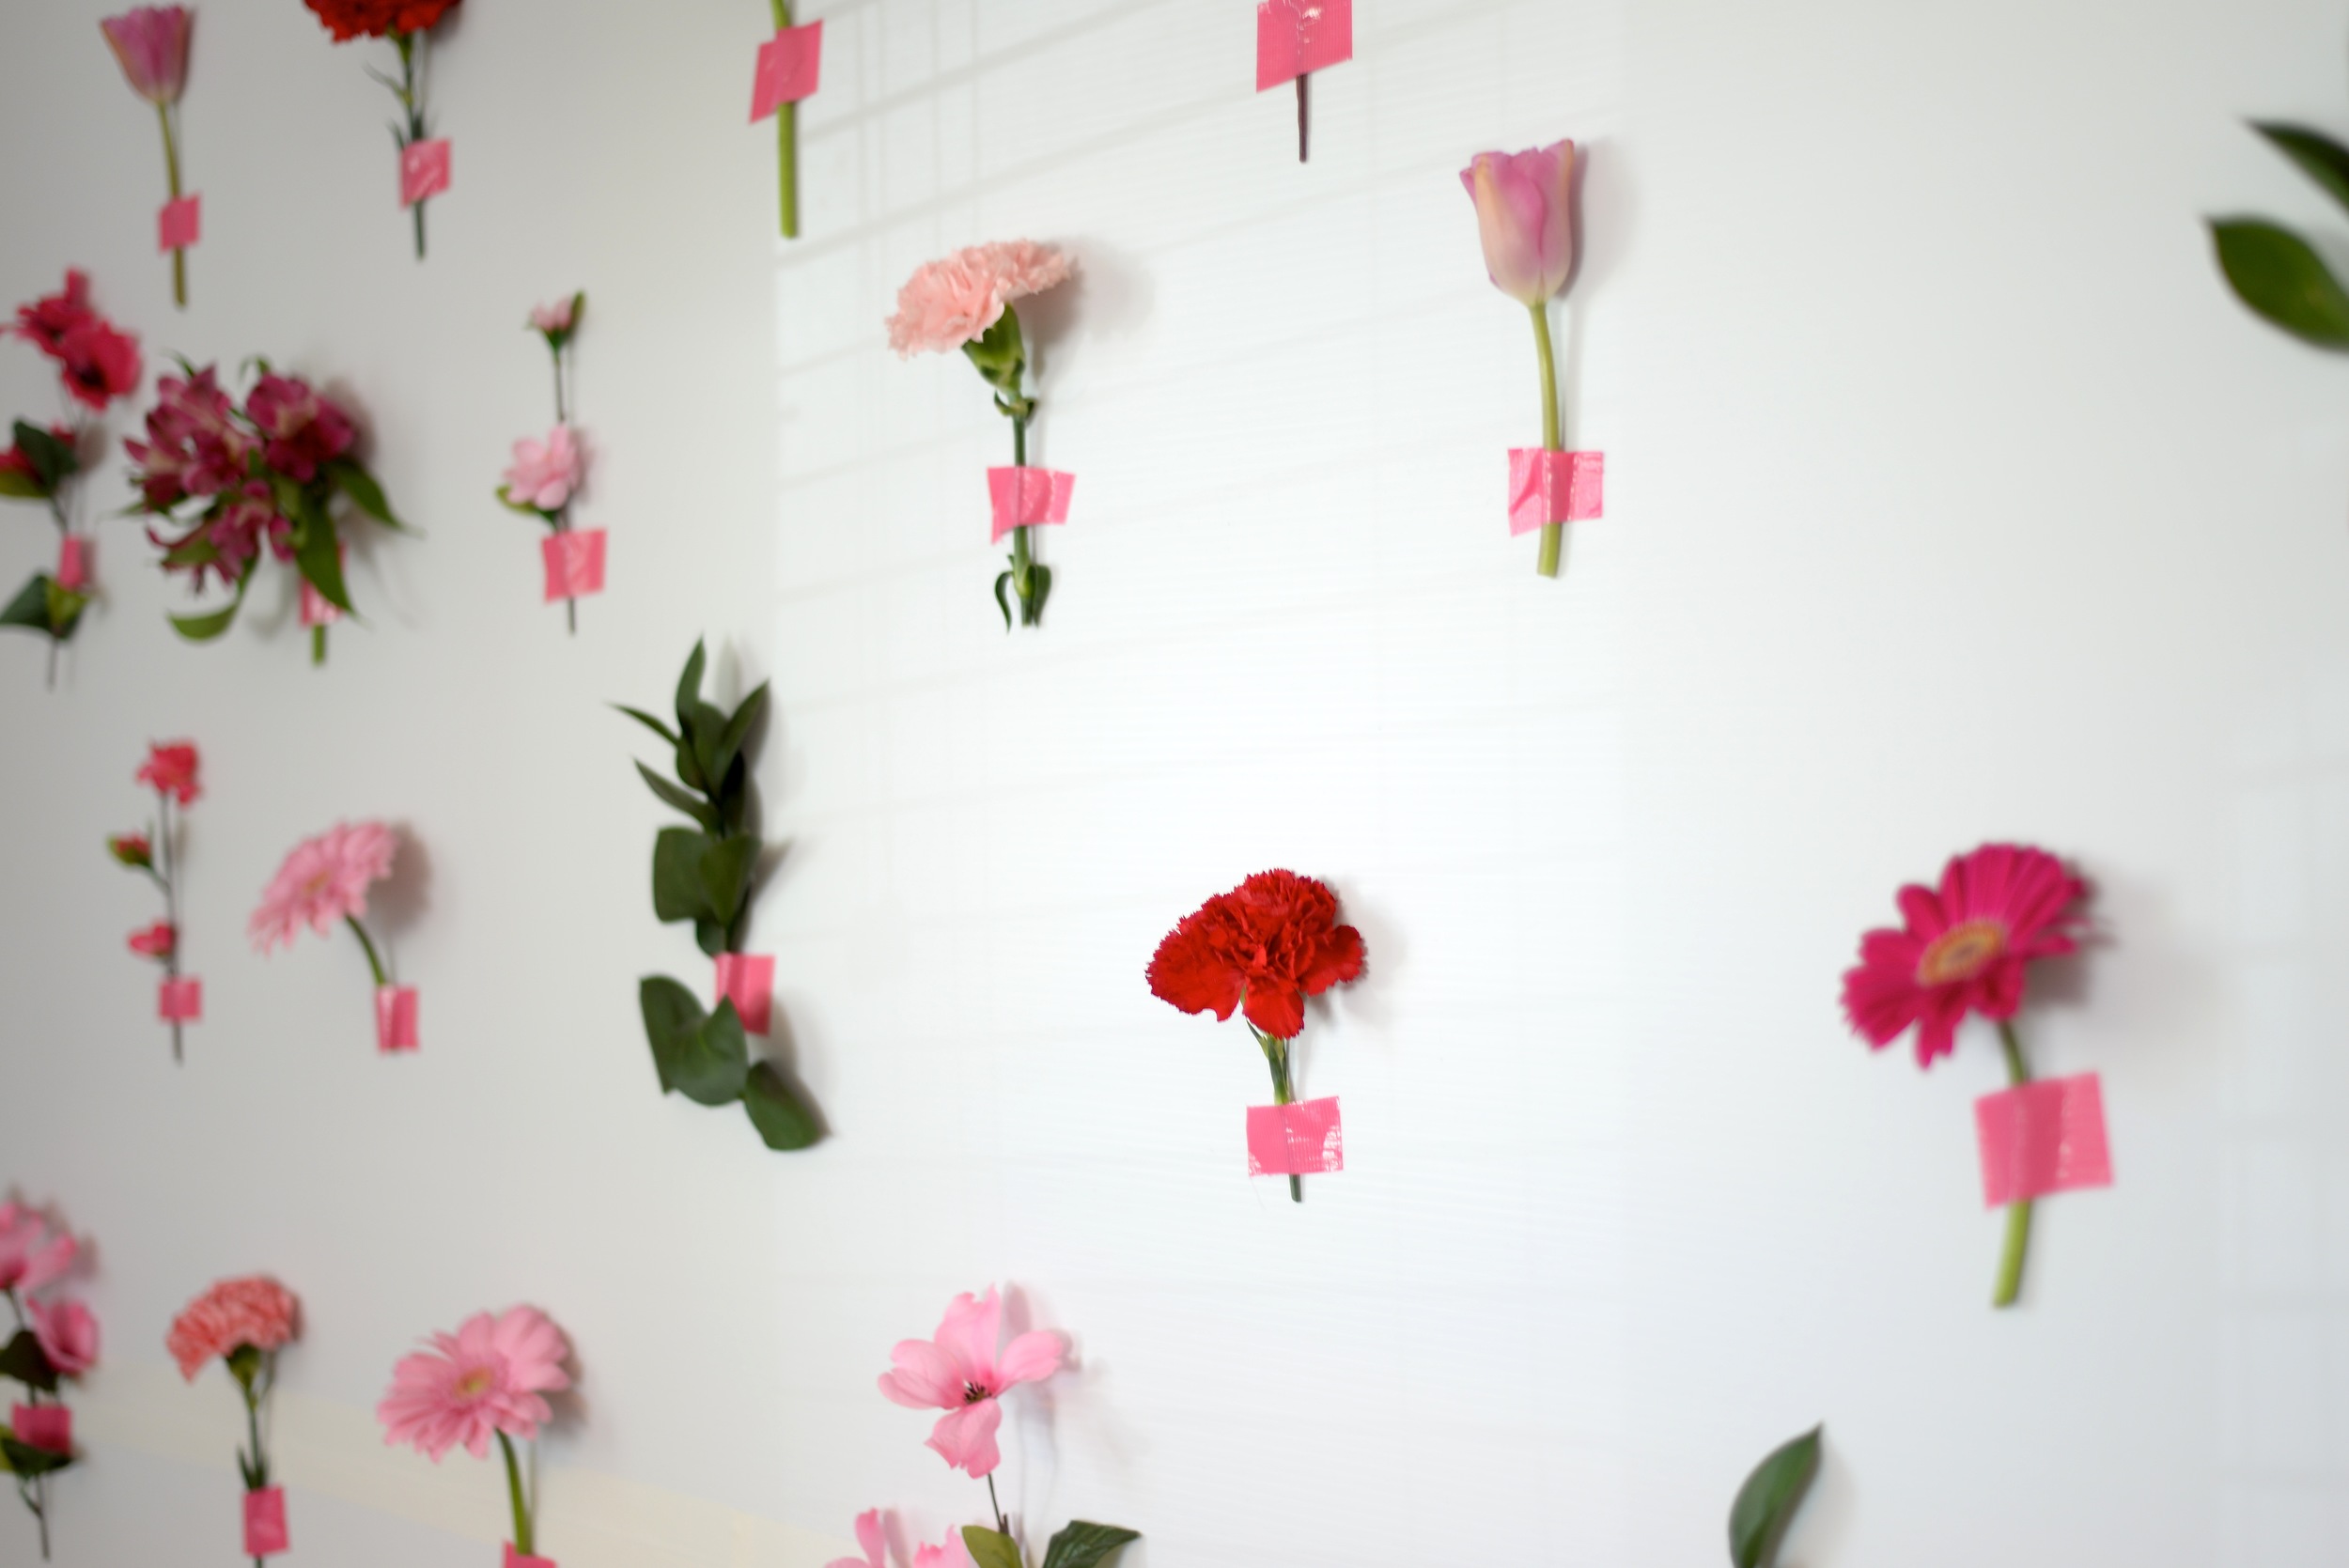
The next bit is the fun part! I bought about $60 worth of grocery store flowers in a variety of pink tones. A dozen daisies, a dozen tulips, a few dozen carnations and to mix things up, one package of 'filler' greenery to break up all the pink. I then used about 4-7 branches of faux blossoms I had from the dollar store as well. Breaking up the real flowers with some faux keeps costs down and also adds more variety and when they're mixed in with real flowers, it's not as obvious to spot the fake ones. To keep the cost down, you can always choose more faux over real flowers.
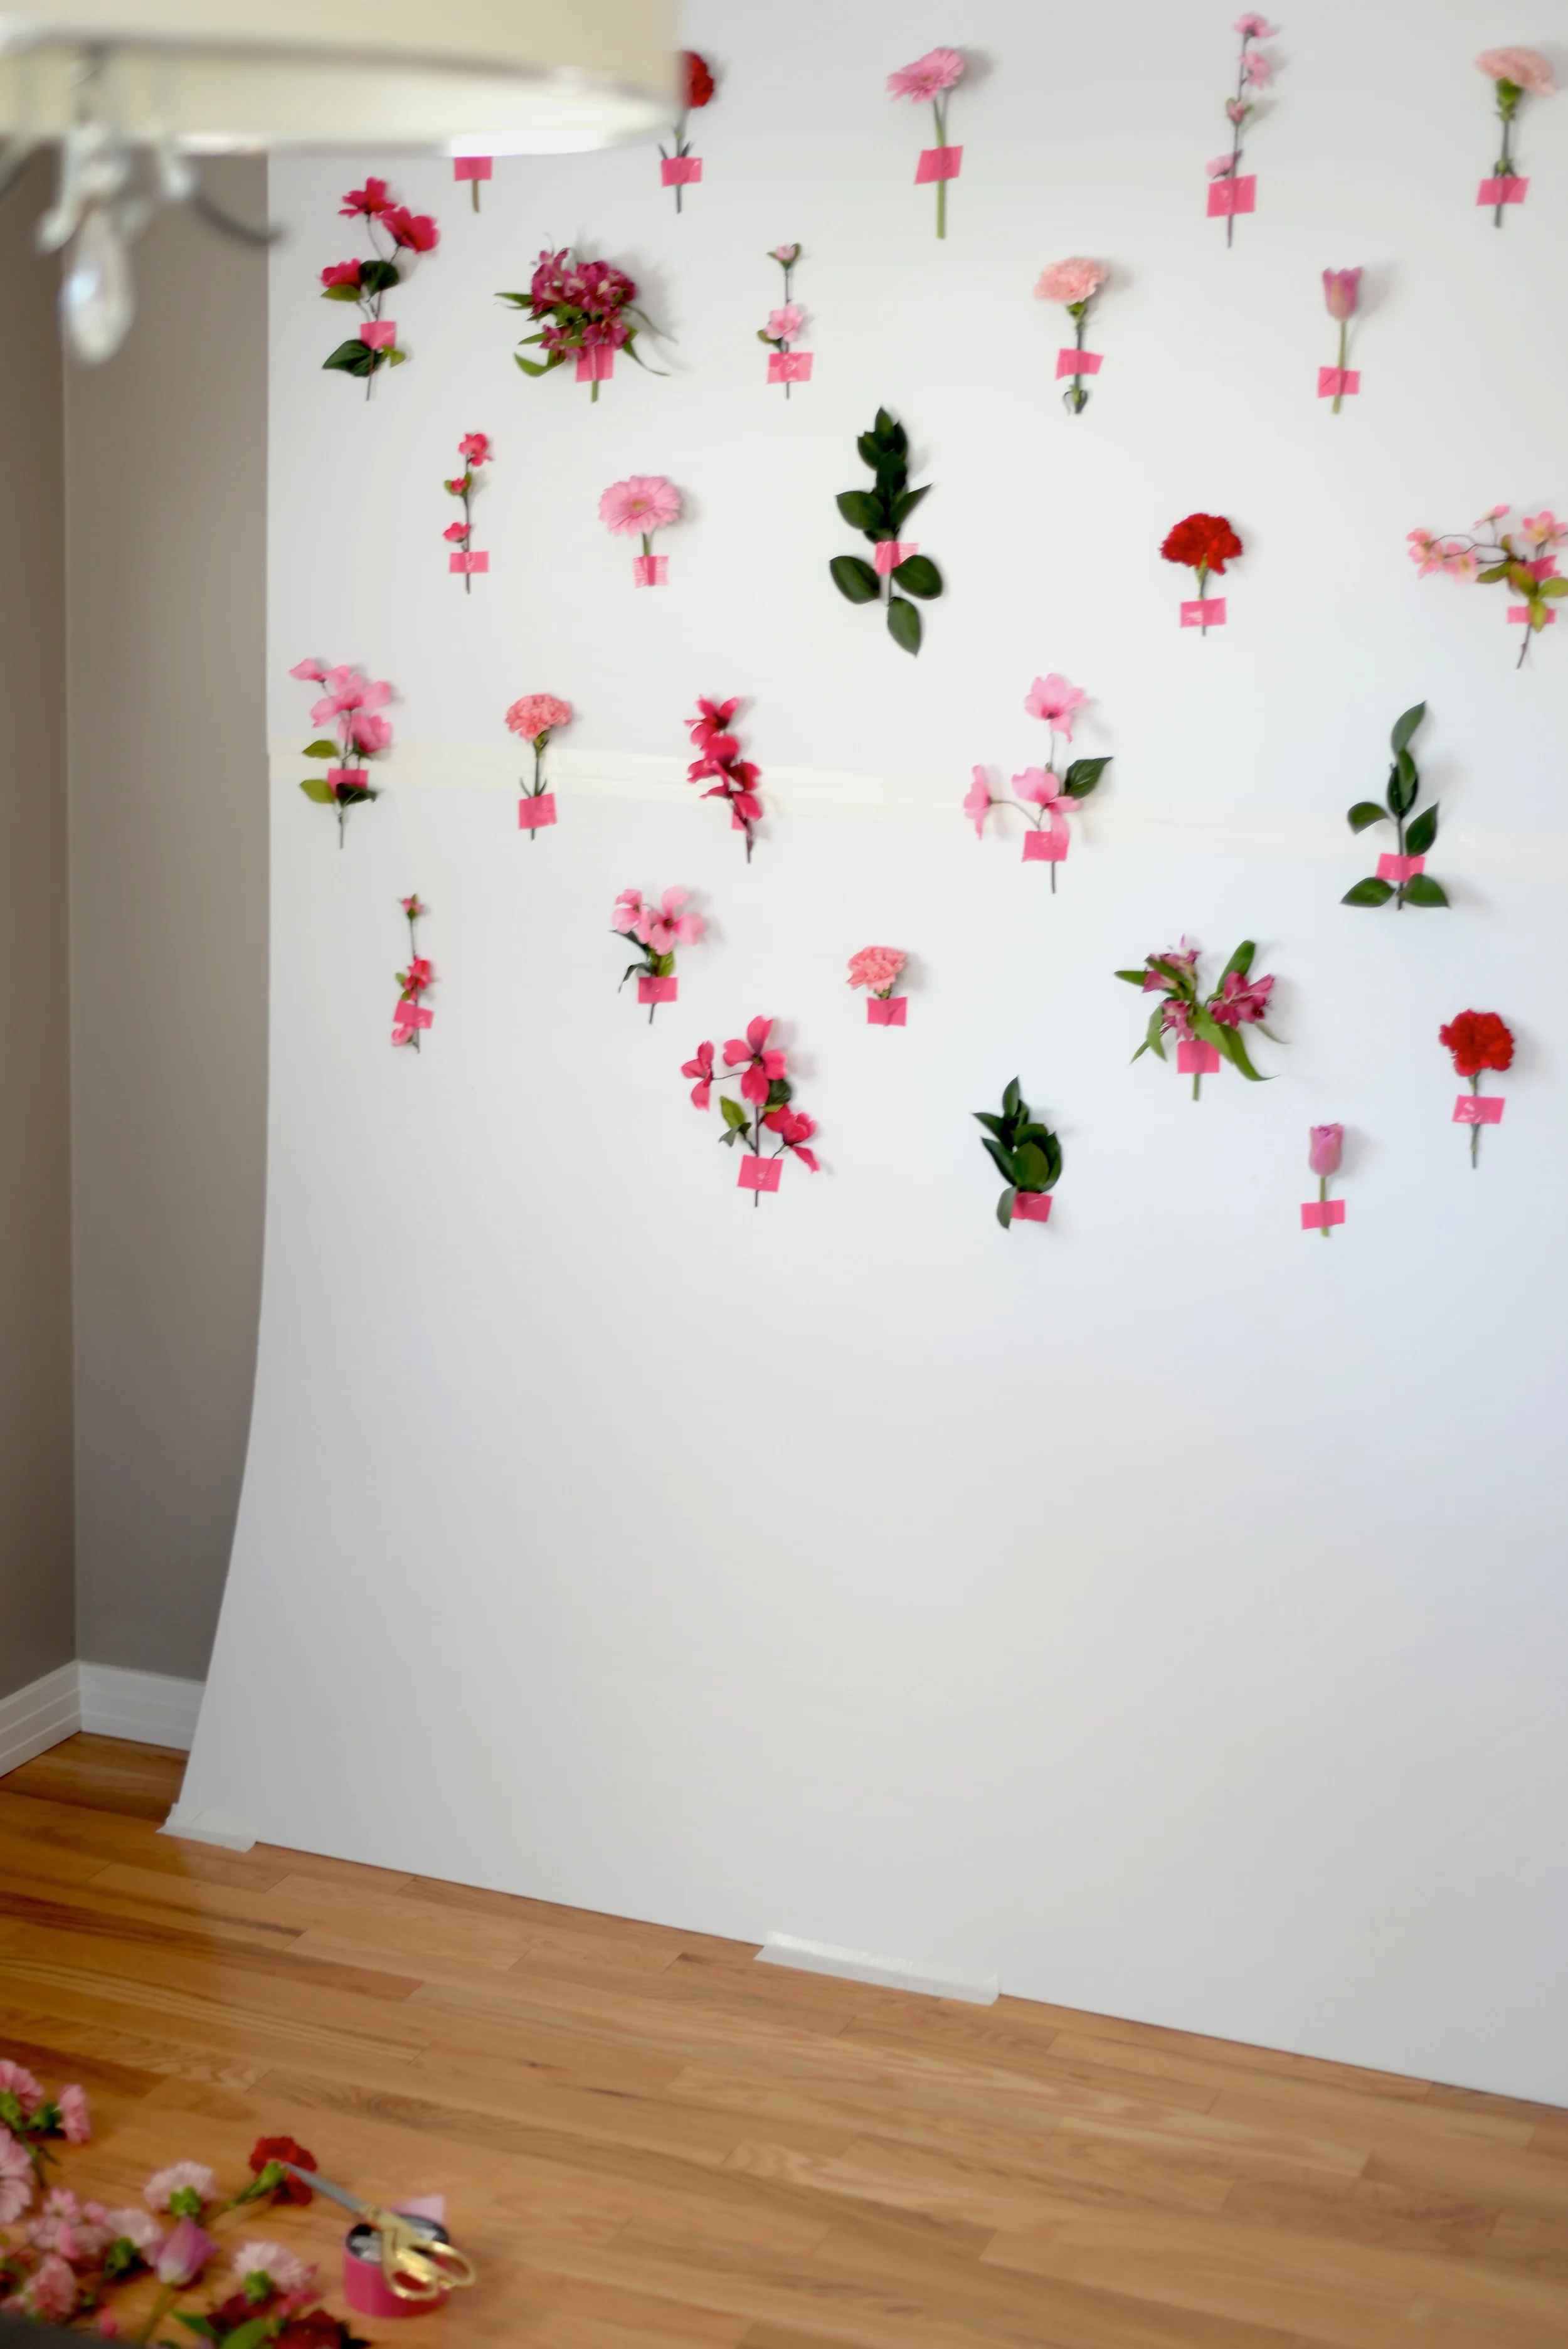
I started at my centre line where I used white tape to keep the boards together to cover up that line and just went from there. I didn't measure or mark where I wanted the flowers, I just eyeballed it because it's really easy to fix and adjust as you go along!
Tip: cut all of your flowers and cut a bunch of strips of tape to have on the ready for when you get started. Having all of the flowers and tape cut before makes the process go more smoothly and quickly. It took me less than two hours to get this board prepped, ready and complete (including cutting off the 2' end pieces).
Once your board is complete the photo fun can begin. We all had a great time taking photos in front of the wall throughout the whole shower and at the end of the day, the last few guests even got to take a few of them home because they lasted all day! I cut them and took them out of the water at probably 10am, removed them from the board at 5pm and immediately put them in little cups and my carnations and daisies are still going strong over 2 weeks later!