Conquering DIY Fear
It’s no secret that I have a small fear of DIY. I love perusing beautiful blogs and falling in love with before and after’s, but I’ve never fully trusted myself to transform a household item from a frog to a prince. Time after time, I have the best of intentions but don’t follow through because I’m afraid of ruining whatever it is that I’m supposed to be beautifying.
…And then there’s Diana. She’s a DIY maven of mavens. Everything she touches literally turns to gold! She’s a spray-paint addict who’s projects turn out better than any store-bought gem. But that’s the intrigue and advantage to DIY: a ‘meh’ item turns into something totally amazing and unique.
Soooo needless to say, when the DIY queen blogged this ahhhh-mazing tablescape and decided to recreate it, realized that if I was ever going to break out of my diy-phobia, the time was now.
I decided to start small so as not to scare the bleep out of myself. This is key for a first-time diy-er. My chosen project was to create the centrepiece and votives for the table, which are gold vases with flowers. Not too hard, right? So off I went to purchase my spray paint!
I discovered the Krylon metallic gold spray paint at Michael’s, a.k.a ‘the store of every modern man’s nightmares’. But in truth, it’s just a wonderland that’s jammed with amazing things that all of the people like Diana know how to use! So in I walked… having no clue how much paint I needed for a vase and two votives, I bought two cans to be safe. In the end, I think I used about a quarter of one of the cans. Saying that I was over prepared is an understatement.
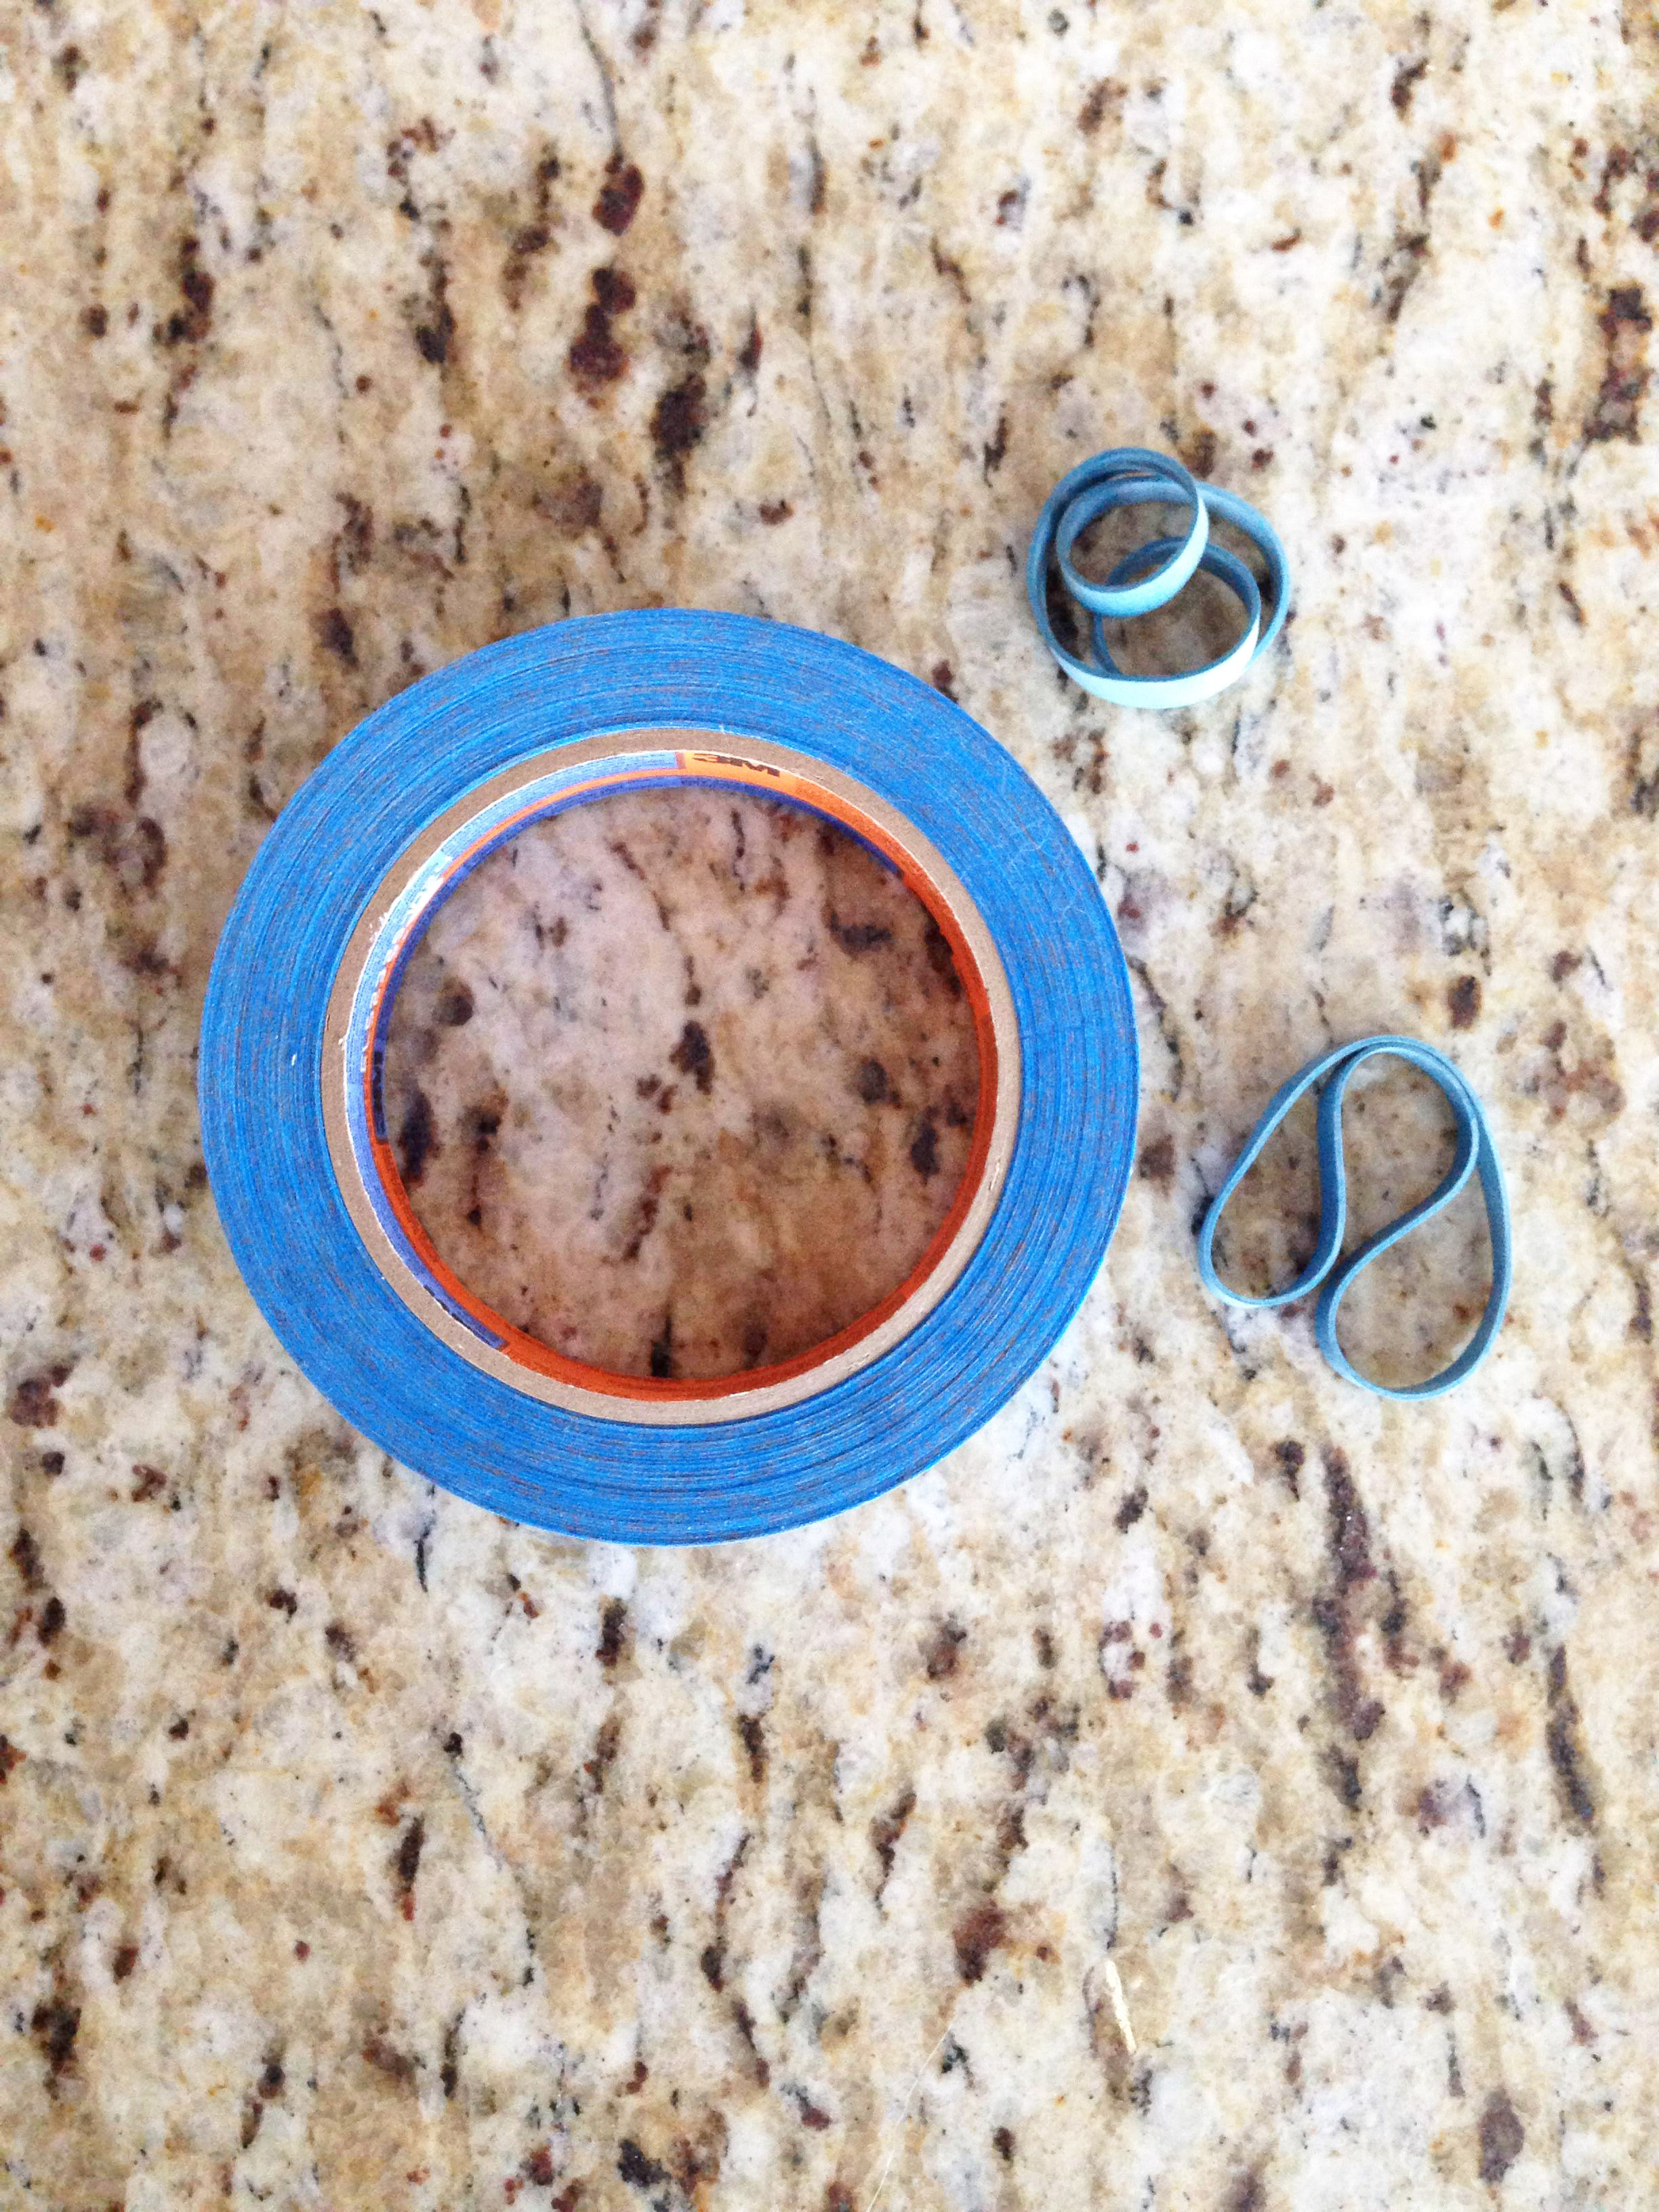
Next, I rounded up my vases. I ran into a conundrum with the votives- I wanted to spray just the bottom half, but how was I supposed to tape it off evenly with a tapered votive? I wasn’t sure how to get the straightest line, but I knew that eyeballing it with tape wasn't going to cut it. Here’s where I had my own DIY lightbulb moment! I grabbed some thick elastic bands and looped them around the glass at the point that I wanted the paint to stop, then taped the rest of the exposed top. The elastic created a perfectly smooth, even line and was the perfect tool. Go, diy virgin.

I was finally ready to start. After reading a few other diy blogs for motivation and courage, I learned that all that I really needed to do to prep the glass vases was wash them. Easy peasy. It was spray time.
Now, if you’re familiar with our Edmonton weather you’ll know that painting anything outside is not an option from November to May… so I pulled a genius move. I grabbed one of my hubby’s painting tarps and off to the basement I went! I know what you’re thinking already: Bad call.
My house may or may not have smelled of chemicals for the rest of the day. Matt was fully impressed with me when he got home that evening.


…But back to the actual spraying! I was a bit nervous for the first coat of paint, so I ended up doing lots of really really light coats- probably 5 in total. Maybe more than necessary, but I had visions of paint globs so I took the safe road. (And don’t worry- I relocated to the garage. Lungs saved).
So, after a bit of fear, a few elastic bands, many coats of paint and a touch of creativity, how did the vase and votives turn out??
Really well! I’m so excited to have broken out of my non-project mode and to have had something actually turn out. Now I actually feel confident enough to tackle bigger projects.
The three of us put the gorgeous table together over the past weekend and We. Are. So. Excited. to share it with you! Stay tuned for our champagne-sipping, confetti-popping, cupcakes-for-lunch post because it’s too much fun. In the meantime, here are some sneak peeks of the vase and votives in all their glory!
XO! S

