Moroccan Area Rug DIY
Today's post is one that's been in the works for a while now although it admittedly, took me a little while to finally work up the courage to do. Today, I'm showing off my DIY moroccan inspired area rug and I'm gonna walk you through the step by steps to make this project yourself.
This rug has been on my radar as one of my favourite Moroccan inspired area rugs (funnily enough, one of my design clients chose this rug for her space!) however the price tag can be a little bit steep. So, using a simple off white shag area rug from the Brick, a bit of dye, tape and patience, I DIY'd a rug with a similar look for a fraction of the cost - here's what you'll need:
1x 5x8 area rug (can do any size but the materials I'll be spec-ing are for a 5x8) - I used this one from the Brick and it was PERFECT!
1x roll of duct tape
2x bottles of Rit Fabric Dye *I mixed one navy blue and one black but to be honest, the subtleties of the color didn't quite come through like I thought so two black would have been fine. I did also have a bit extra
Scissors
Yarn (about 2 feet)
Small bowl for mixing
Foam brushes
Fabric or strong craft glue
Rug Pad

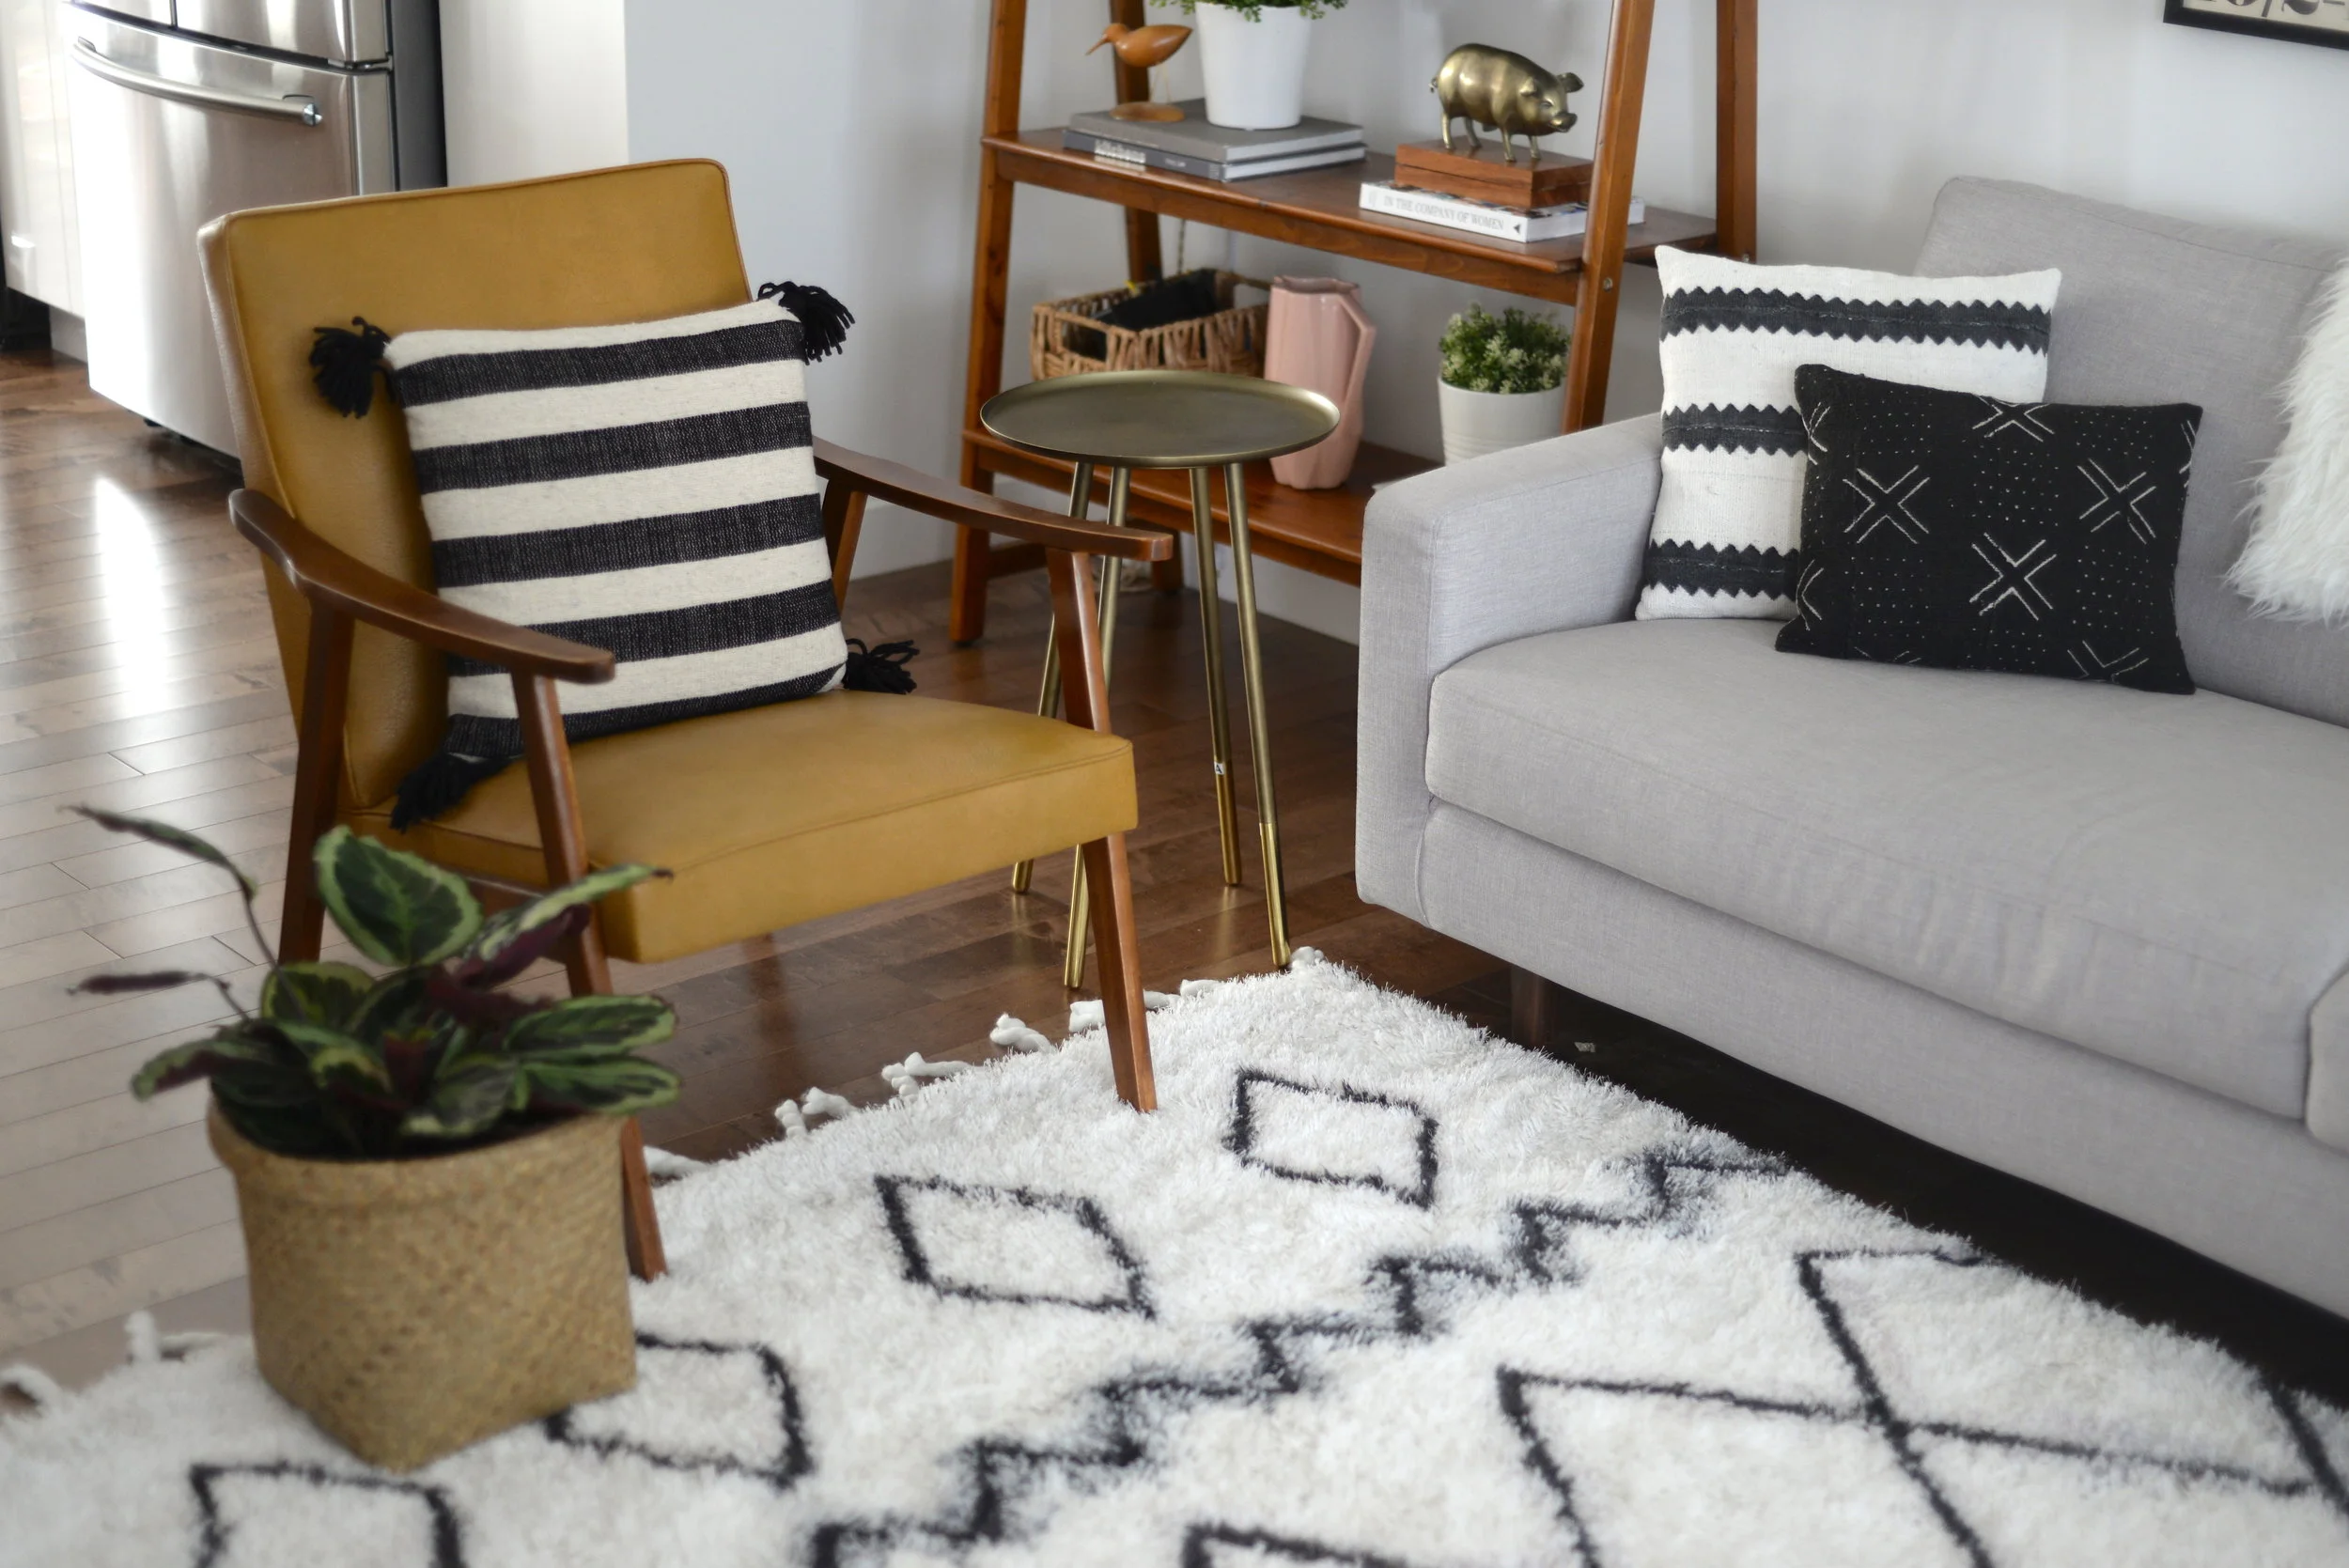
The first step for this DIY is to lay your area rug out flat on a flat surface (protect with garbage bags or plastic underneath in case the ink leaks through) then determine the look of the pattern you want to emulate. Note: this rug works well for a more "imperfect look" like the one above. If symmetry and perfect clean lines are more your jam, this DIY might not be for you. Part of the beauty of this rug is that it has character.
Once you know the design you're going for it's time to tape out the design. Note, where you lay down the tape is where will the rug will be protected. You'll need two strips of tape laid down for each area you'll be dying. To save on tape (because one roll was juuuuust enough for this DIY), I tore the tape into 1/2 and even 1/3s in some areas. Thankfully duct tape is easy to tear so this part is easy.


For this part if I'm being honest I just eyeballed my layout and tape lengths. Again, this rug does not need to be perfect so relax a bit and have some fun. At one point in the center I did sketch out my tape layout to help visualize things but for the most part I just eyeballed the design.
I mixed my Rit dye with some vinegar as per these instructions (you can use vinegar or salt depending on the fiber material) and mixed the Rit solution at a 1:1 ratio with water then used the sponge brush to dab the space between the taped out lines.


Tip: don't over saturate the carpet - I used too much dye solution for the zig zags that run straight across which you can definitely see as the color bled a bit (although I don't mind how the look turned out!) but you can see in the other areas, there was less color bleed when I only dabbed on one coat of dye. As soon as I dabbed on the dye I removed the tape to make sure there weren't any immediate corrections that would need to be made.
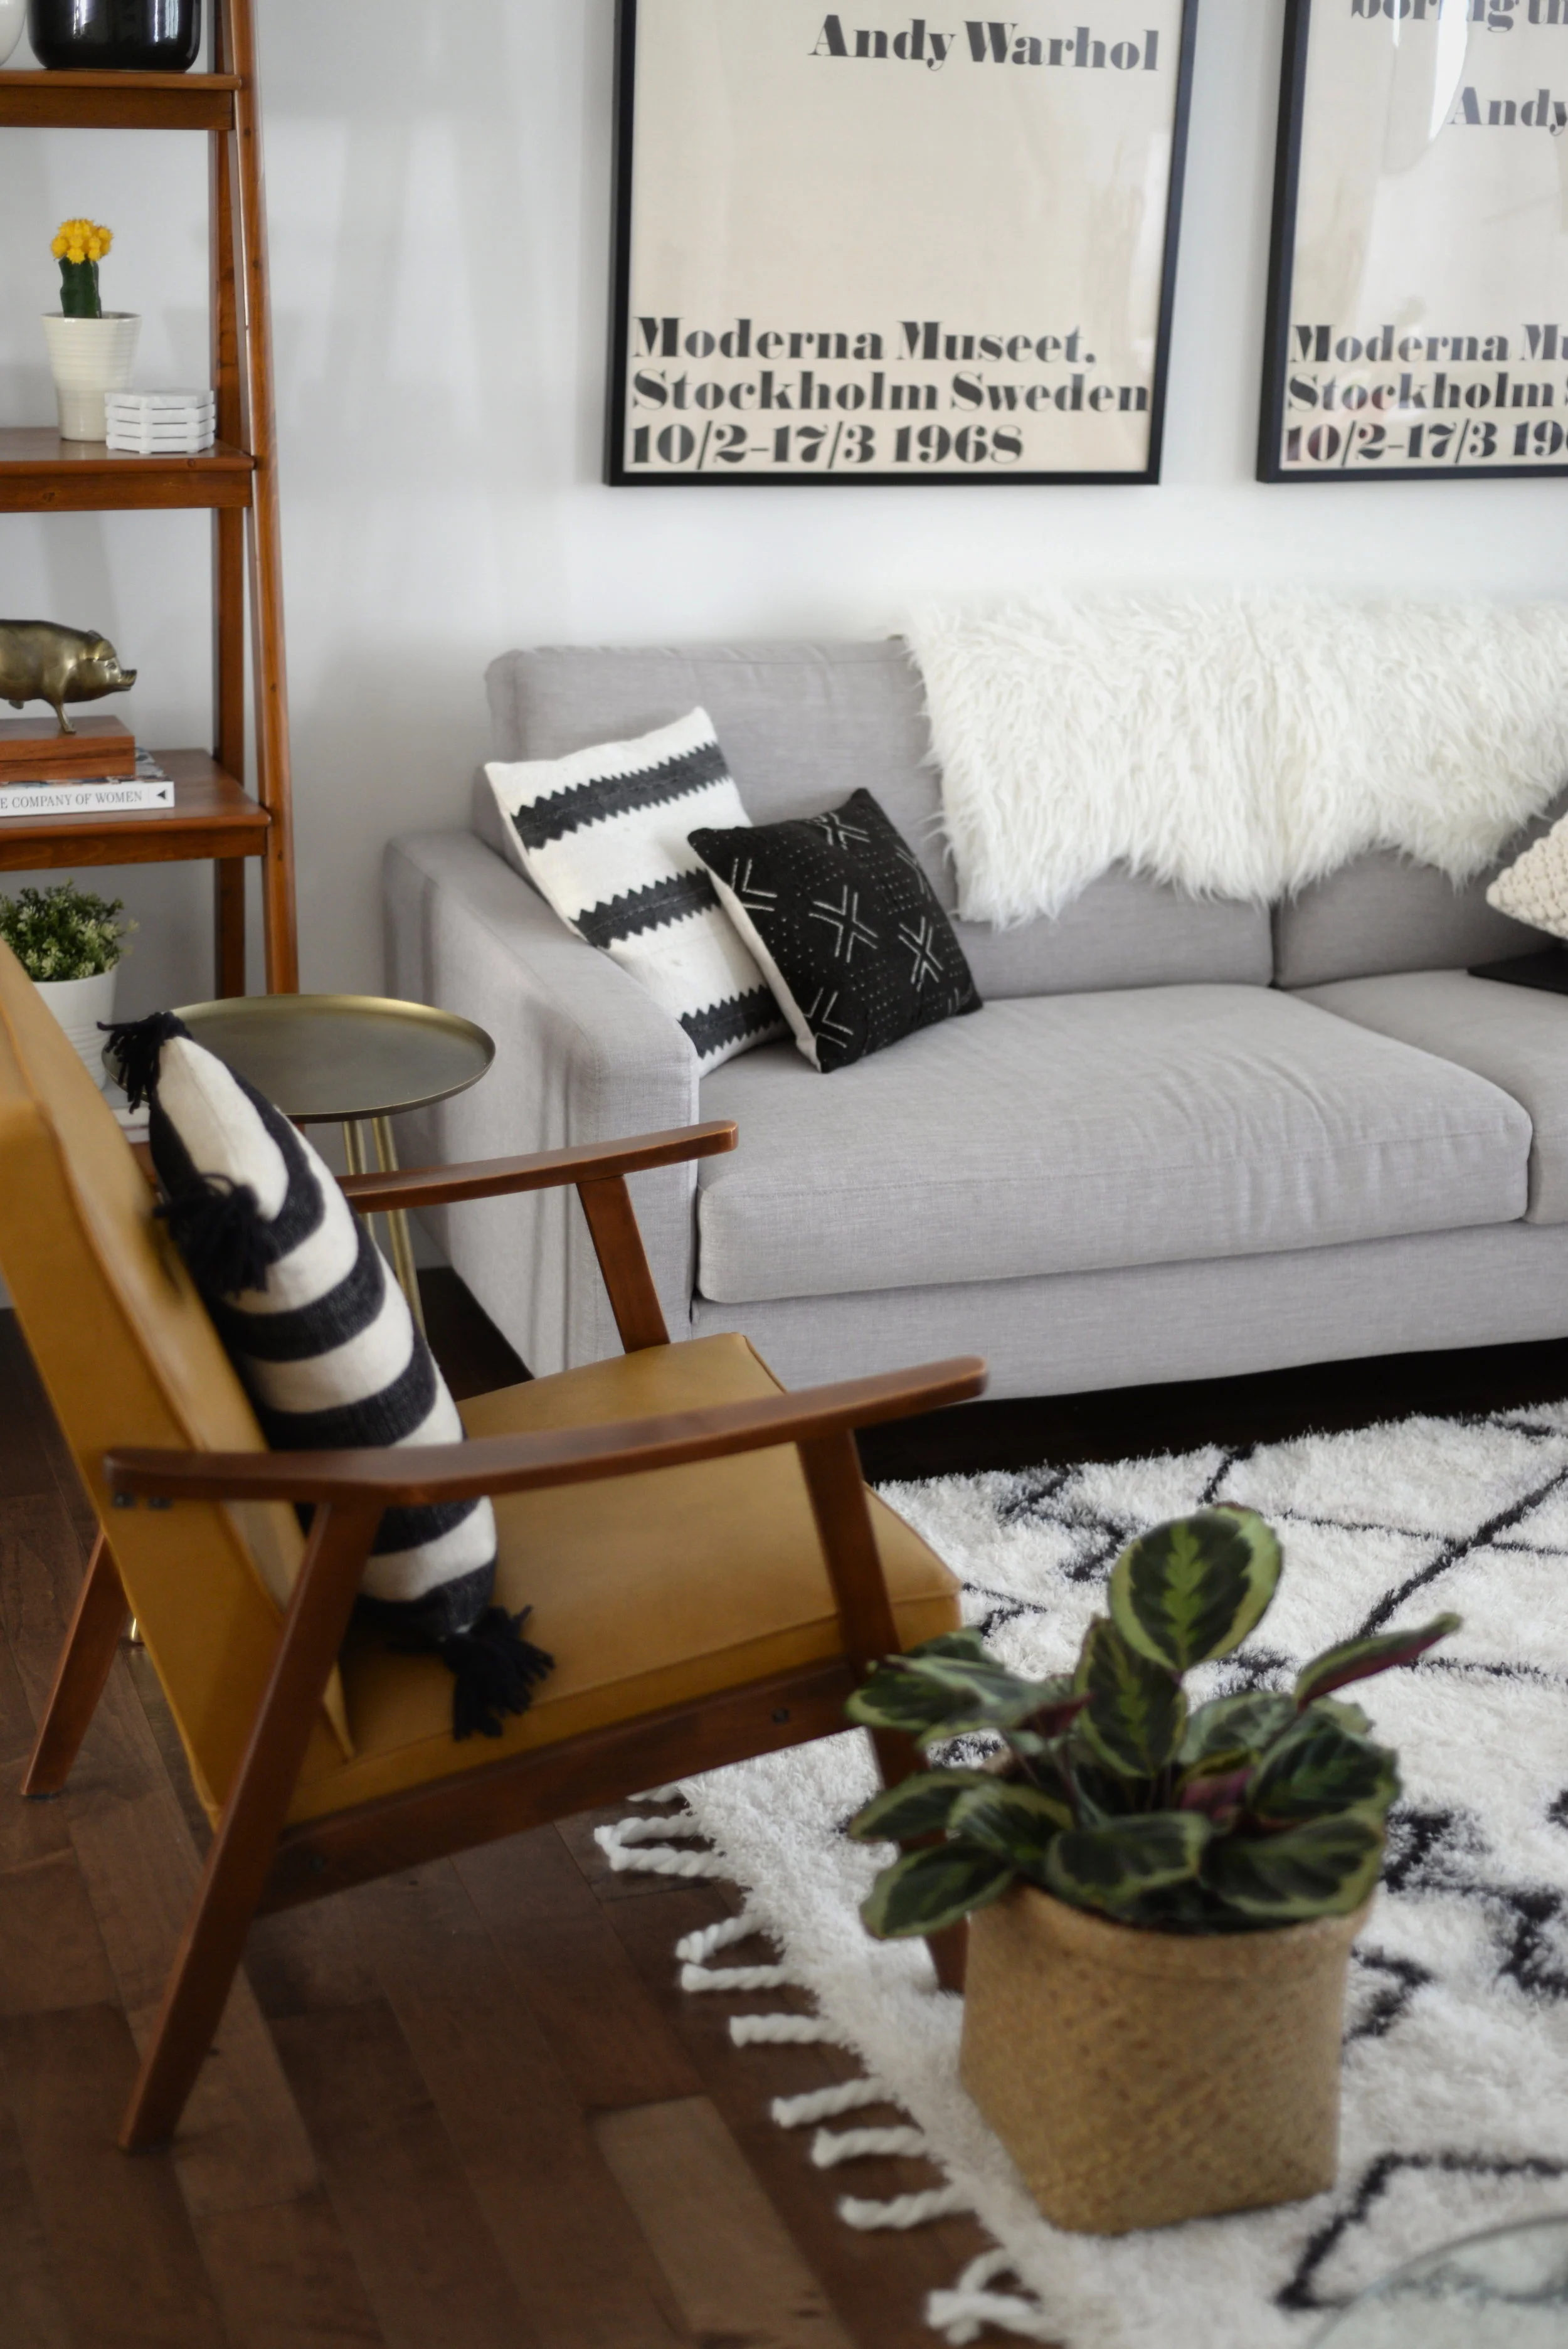
Once the dye was on the rug I let it dry for a few days for the color to really soak in. After that was done I took a thick yarn and cut approx 4" strips (20 per side) and glued to the backside of the area rug for a tasseled look.
To finish the project, place the area rug on a carpet pad (or adhere the area rug to the carpet pad with heavy duty fabric glue). This will prevent any dye that's made its way through the rug from staining or rubbing off on your floor below.
I'm actually so happy with how this rug turned out. The whole project costs about $175, that's way less than the $550 for the original in the same size!

Here are my final tips to keep in mind...
1. Make sure to actually put the plastic bags underneath unless you have a space that can get stained (in a few spots the ink leaked through on mine so I was so happy I protected my floor!)
2. Take your time taping the pattern out - that's the most important step
3. Don't overdo it with the dye - that will cause bleeding
4. Allow to dry for a few days before placing it on the floor, this allows time for the dye to fully dry and set
5. Allow the glue to dry on the tassels for a full day before using
6. Have fun and relax! Remember, this rug isn't supposed to be perfect - it's the handmade look that gives it character!